Sunday, October 19, 2025

Beat Sciatica Pain with These 7 Simple Exercises

Sciatica has become a common problem. If you haven't experienced it yourself, someone you know probably has. By definition, sciatica is tenderness and pain that can occur anywhere along the sciatic nerve. The sciatic nerves are the longest nerves in the human body. There are two nerves - one in each leg - originating from several nerve roots that exit from the spinal cord, passing between layers of the buttock muscles through the muscles at the back of the thigh and down through the outer edge of your leg to your foot. 

The Facts: According to the Journal of Neurosurgery: Spine (2005), it is estimated that more than 5% of the adult population in the United States suffers from sciatica. Furthermore, an individual has a 40% probability of developing sciatica over a lifetime.


The Symptoms of Sciatica
Sciatica frequently flares up when bending over, running and sitting (particularly when driving). Symptoms of sciatica typically include: 
• Pain in the lower back, buttocks, back of the thigh and/or calf 
• Fatigue, numbness, or loss of feeling in your legs and/or feet 
• Tingling, burning, pinching, pins and needles 
• An inability to flex your ankles enough to walk on your heels 
• Reduced reflexes in the Achilles tendon (the muscle above the heel) and the knee.

What is the Cause of Sciatica?  
It is important to get to the root of the problem first and discover what is causing your sciatica. This involves seeking advice from your doctor and getting a proper diagnosis before proceeding. Generally, there are two main contributors to sciatica: 
 
• A Herniated Disk: Pain that is caused by a bulging or ruptured disk that pinches or irritates the nearby nerve. 
 
• Piriformis Syndrome: Sciatica that is caused by irritation of the sciatic nerve by a muscle in the buttocks called the piriformis. The muscle can push the sciatic nerve against the tendons beneath it, resulting in buttock and leg pain.

The Good News: How Yoga Can Help 
 
Specific yoga practice can help you overcome the pain: 
 
• For a Herniated Disk: Opt for a yoga practice that progresses from gentle poses to basic foundational postures, which include a variety of standing poses focusing on the alignment, lengthening and strengthening of your lower back. Prior to practicing yoga, ensure that surgery is not required. 
 
• For Piriformis Syndrome: Opt for yoga postures that stretch this muscle. Your approach should be gentle and progressive, as overworking this muscle may lead to spasms and deep buttock pain.
 
What follows is a series of yoga poses that predominantly target the piriformis, helping to relieve sciatic pain: 
 
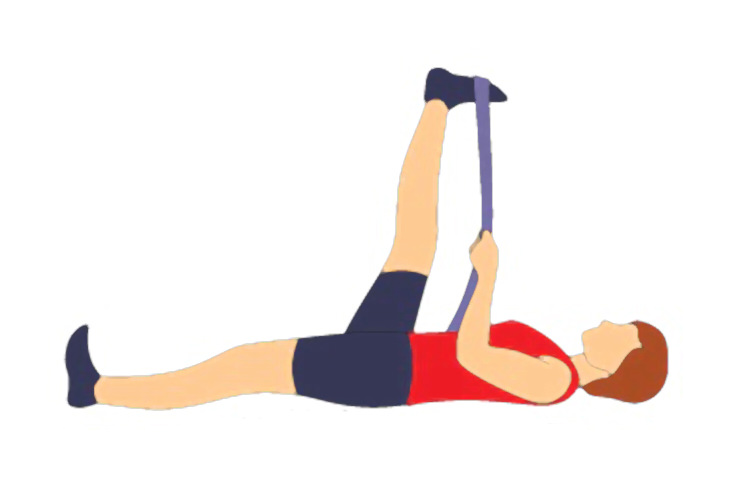
1. Reclining Big-Toe Pose
 
Exercise - Tips - Relieve Pain - Helpful
Beginner's Tip: To make this pose slightly easier, keep your extended leg’s heel a few inches off the floor; for extra comfort and support you can place your heel on a foam block or a thick book. To help keep your raised foot in the air you can place a strap around the arch of your raised foot. Place a folded blanket under your head for added comfort. 
 
Here's How:
1) Lie on the floor, keep your legs strongly extended with your feet flexed. Exhale and bend your right knee, drawing your thigh to your torso, hugging it to your belly. Keep your left leg extended, pushing actively through the heel. 
 
2) Loop a strap around the arch of your right foot, holding the strap with both hands. On your next inhalation, extend your knee straight, pressing your heel up toward the ceiling. Reach your hands as far up the strap as possible, until your elbows are extended. 
 
3) Keep your shoulder blades broad across the back, pressing lightly into the floor. Keep your collarbones wide, reaching away from the sternum. Your sitting bones should be firmly planted on the floor. 
 
4) Hold the pose for 10 deep breaths. Then lower your leg slowly by bending your knee towards your chest and slowly releasing it to the floor. Repeat the process with your left leg. 
 
2. Staff Pose
Exercise - Tips - Relieve Pain - Helpful
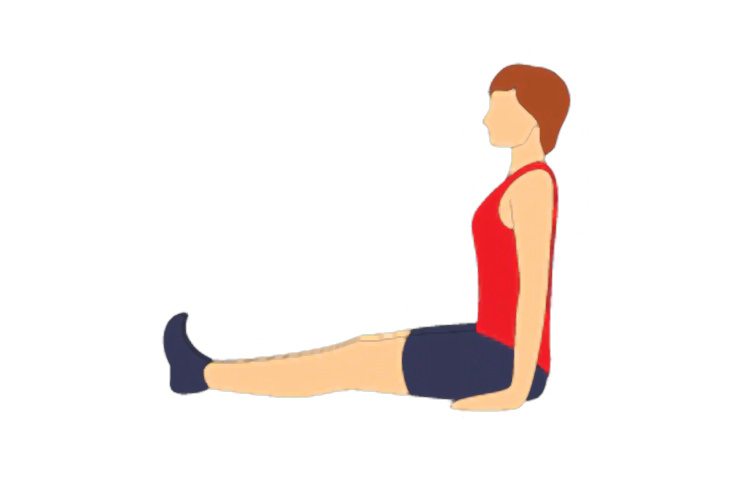
Beginner's Tip: This is a basic seated pose, which aside from relieving sciatica, will also help improve posture. Lay a 10-pound sandbag across the top of your thighs at the hip crease to help keep your thighs grounded. You can also practice this pose by keeping your back against the wall. 
 
Here's How:  
1) Sit on the floor, extending both legs in front of you. Keep your legs together and your torso upright. If your torso is leaning back, sit up on a blanket or cushion to help lift your pelvis. If practicing against a wall, your sacrum and shoulder blades should touch the wall, but not the lower back or the back of the head. 
2) Sit on the front parts of your sitting bones, keep your thighs firm, pressing them down against the floor, rotating them slightly toward each other. Keep your ankles flexed, pressing out through your heels. Keep your spine long, as if you're being pulled by a string from the crown of your head. Hold for one minute taking long, deep breaths. 
 
3. Pigeon Pose
Exercise - Tips - Relieve Pain - Helpful

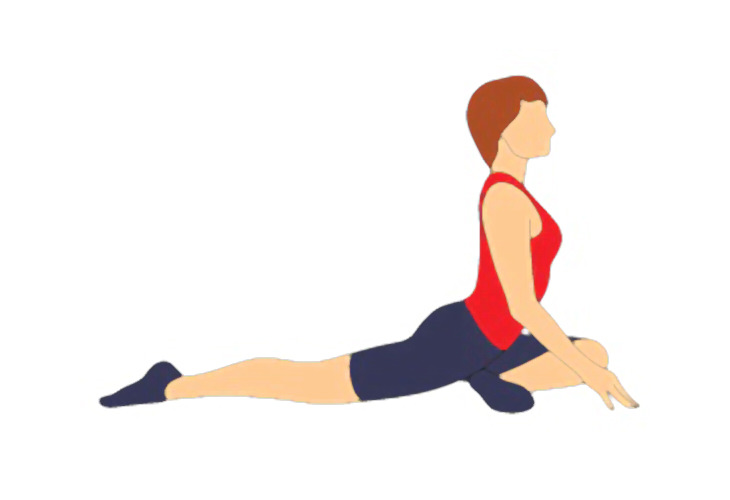
Beginner's Tip: This pose stretches the piriformis. Place a thick, folded blanket underneath you hip for extra support. 
 
Here's How:
1) Start on all fours. Bring your right knee forward and out between your hands. Slowly sink your hips to the floor. As you do so, release your left leg onto the floor behind you, slowly sliding it back while bringing your body forward. Keep your left toes pressed down on the mat. 
 
2) Your right heel should be in line with your left hip and your shin should be at about a 45-degree angle. If you feel yourself tilting over to the right hip, place a blanket underneath for extra support. Keep your hips parallel to the front of your mat as much as possible. Use your fingertips to support your torso and keep your spine long, shoulder blades drawing close together. Hold for 10 deep breaths and repeat on the other leg. 
 
4. Standing Twist
Exercise - Tips - Relieve Pain - Helpful

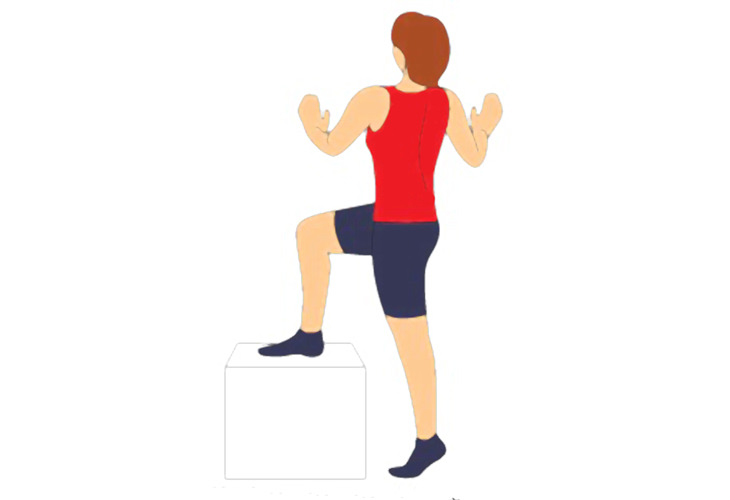
Beginner's Tip: To reap the benefits of this pose, place a chair against the wall; the chair and the wall will provide you with extra support, enabling you to twist deeper. 
 
Here's How: 
1) Stand with your right hip against the wall with your body facing the chair. Put your right foot up on the chair, keeping your knee bent. Also, keep it in line with your ankle. Your standing leg should be straight. Press your right hand against the wall, to help you balance. 
 
2) Slowly lift your left heel up and turn your torso towards the wall, supporting your hands with the wall. Exhale and lower your heel to the floor, staying in the twist for a couple more breaths. Slowly return to the starting position and repeat on your left side. 
 
5. Preparation for Spinal Twist
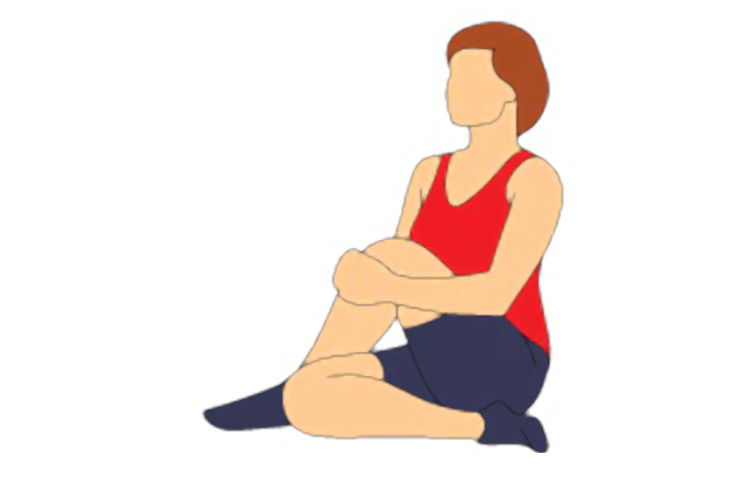
 
Exercise - Tips - Relieve Pain - Helpful

Beginner's Tip: Sit on the corner of a folded blanket for extra support in the full seated spinal twist pose (see below). 
 
Here's How:  
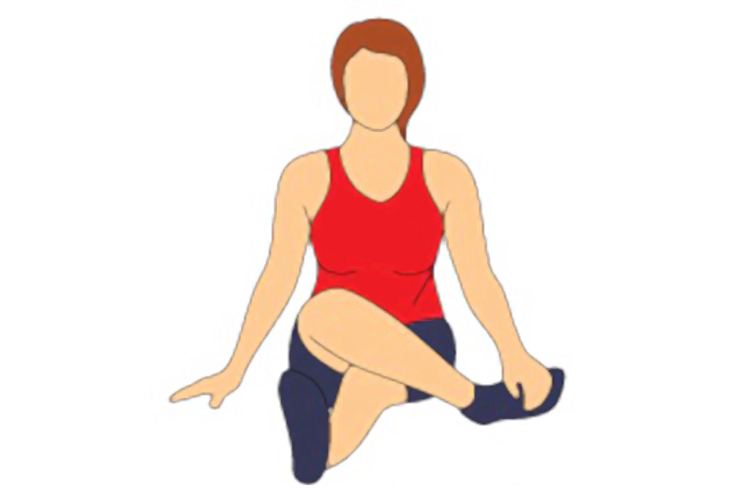
1) Sit with your knees bent and your feet out in front of you. Release your right leg on the floor, taking your right heel to the outside of your right hip. Then bring your left foot around, placing your left heel by your right hip. Your weight should be evenly distributed across your buttocks. 
2) Interlock your fingers over your left knee, while focusing on lengthening your spine. Hold this position for several breaths. Then proceed to the next pose. 
 
6. Simple, Seated Twist
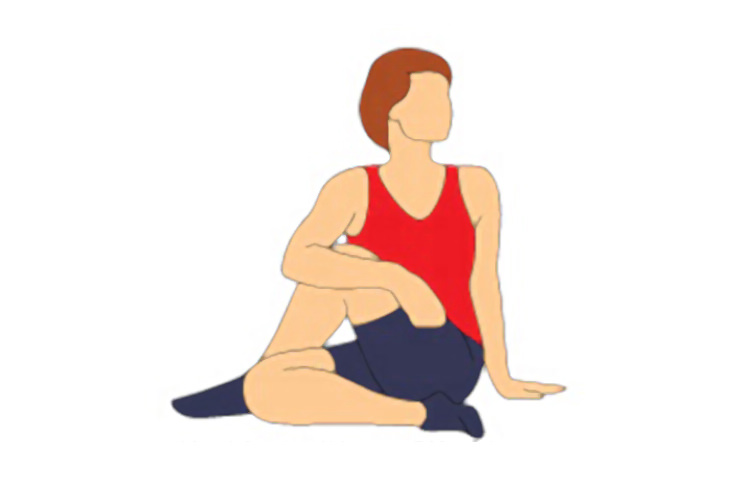
 
Exercise - Tips - Relieve Pain - Helpful
Here's How:  
1) From the preparation pose described above, turn your torso (from your waist, not your hip) toward the left knee. Place your left hand behind you, using it as a lever to twist (your weight should not be supported by your left arm). Hold onto your knee with your right hand. 
2) It is vital that you do not go too deeply into the twist, as doing so will worsen piriformis syndrome. Repeat on the opposite side, starting with the pose above. 
 
 7. Cow's Face Pose
Exercise - Tips - Relieve Pain - Helpful

Beginner's Tip: For extra support in this passive stretch, sit on a blanket. If during the pose you notice that your left leg is not touching the floor, or your left knee locks or hurts during the stretch, roll up a second blanket or towel and place it under your knee. 
 
Here's How: 
1) From staff pose (number 2), bend your right knee, bringing your right leg across the left leg. Bring your right foot close to your outer left hip.
2) Move your left leg towards the mid-line - it should be slightly diagonal to your body. Your right hand should be on the floor while your left-hand holds your right foot. Keep your spine extended, holding the position for a couple of breaths, then repeat on the other side.
This is only for your information, kindly take the advice of your doctor for medicines, exercises and so on.   


Labels: , , , , , , , , ,

Thursday, August 12, 2021

7 Hip & Back Exercises Performed On a Chair

From reduced stress, to improved strength and flexibility, the benefits of yoga have made it an increasingly popular form of exercise in the West. But, it can be rather intimidating to some too. Perhaps you may feel that you just 'don't bend that way', or you might find it difficult to keep up with others in class, or maybe, you have a physical limitation that prevents you from attempting a yoga class for a full hour.

Whatever your reason may be, using a prop, such as a chair, will help change your perception of yoga. Chair Yoga, as it is justly named, adapts traditional yoga poses so that they may be done from a (predominantly) seated position, offering support to people who cannot stand for long periods of time. Despite the extra hold you get from using a chair, the mind-body benefits of a traditional class are still incorporated into the 'chair pose'.  
 
Who can do Chair Yoga? 
 
This form of yoga practice is generally targeted at senior citizens, however, it may also be adopted by obese people and people with neurological diseases. Office workers may also take advantage of Chair Yoga, enabling them to sneak in a couple of stretches at work too. The particular chair you use is not important, however, it goes without saying that chairs with wheels are not ideal. 
 
So, whatever your reason, this series of seated yoga exercises can be a great addition to your daily routine. 
 
Disclaimer: Whilst the following poses are suitable for most people (including seniors), people living with chronic pain and/or those who use a wheelchair should consult with their healthcare provider before beginning any new physical activity.

1. Chair Cat-Cow Stretch
yoga
Keep your spine long, both feet planted flat on the floor. 
 
• Inhale, come into cow position, arch your back and drop your shoulders. 
 
• Exhale, round your spine, allowing the shoulders and head to come forward into cat position.
 
• Continue to move between cow on the inhalations, and cat on the exhalations for five breaths. 
 
Benefits: This posture improves spine flexibility and abdominal strength. 
 
2. Chair Forward Bend
yoga
Spread your feet hip-distance apart. 
 
• Exhale, coming into a forward bend, resting your torso over your thighs. 
 
• Let your hands rest on the floor (if you are able to reach it. If not, keep your hands on your thighs). 
 
• Let your head hang heavy between your legs. 
 
• Inhale, raising your arms up over your head. 
 
• Repeat this sequence five times, moving slowly as you breathe.

Benefits: Relieves tension from the head, neck and shoulder region. This pose also helps sooth the nervous system and relieves stress.  
 
3. Chair Spinal Twist

Keep your spine straight, knees together, feet planted on the floor.
 
• Twist your torso towards the left. 
 
• With your left hand hold the back of the chair, placing your right hand on your left thigh.
 
• With each inhale, lengthen your spine and with every exhale twist as deeply as you can. 
 
• Hold this posture for five breaths, then repeat on the right side.

Benefits: Opens the shoulders and neck, whilst stretching the spine. 
 
4. Chair Thread the Needle
yoga
Sit up straight. 
 
• Bring your left ankle to rest on your right thigh, keeping your knee in line with your ankle as much as possible. 
 
• Hold for three to five breaths. 
 
• If you would like to intensify the stretch, proceed with a forward bend, holding for a further three to five breaths. 
 
• Repeat with your right leg up.  
 
Benefits: Stretches the thighs, groins, back and psoas muscles. 
 
5. Chair Eagle Arms
yoga
Lengthen your spine and stretch your arms out in front of you. 
 
• Cross your left arm over the right, at the elbow. 
 
• Bend the elbows and bring your palms together until they touch. 
 
• Lift the elbows while dropping the shoulders away from your ears. 
 
• Hold the pose for three to five breaths and repeat on the other side. 
 
Benefits: This pose provides a deep stretch in the shoulders. 
 
6. Chair Warrior II
yoga
Position your right leg over the chair and swing your left leg behind you. 
 
• Plant the sole of your left foot on the floor and straighten your left leg.
 
• Let your torso turn to the left, aligning your hips with the front of the chair. 
 
• Exhale, open your arms out to the side, with your right arm extending forward, and your left, back. 
 
• Gaze out over your right fingertips and hold for three breaths. 
 
• Repeat on the other side. 
 
Benefits: Strengthens the legs and arms, opens the chest and shoulders and tones the abdomen.
 
7. Reverse Chair Warrior
yoga
Position your body in Warrior II, as described above. 
 
• Let your left arm come down your left leg and lift your right arm up towards the ceiling as you inhale. 
 
• Hold for three breaths. 
 
Benefits: Strengthens the legs, improves flexibility of the spine.

This is only for your information, kindly take the advice of your doctor for medicines, exercises and so on.   

https://gscrochetdesigns.blogspot.com. one can see my crochet creations  
https://gseasyrecipes.blogspot.com. feel free to view for easy, simple and healthy recipes    
https://kneereplacement-stickclub.blogspot.com. for info on knee replacement

Labels: , , , , , , , , , ,