Water Trapped In Your Ears? 8 Easy Ways to Clear Your Ears
Having water trapped in your ears isn’t
just extremely annoying, but it’s also quite risky. A tickling sensation
in the ears and diminished hearing in either one or both ears are the
most common signs of this issue. If the water doesn’t drain out on its
own and these symptoms persist for more than a day, the trapped water
may cause an ear infection called swimmer’s ear. Learn to promptly get
rid of the water stuck in your ear and the common mistakes that could
lead to complications in this article.
How to get water out of your ears
1. Make a vacuum seal with your hand

Creating a vacuum can help draw out the
water. This method doesn’t require any additional equipment and is quite
effective for water stuck in the ear canal. Follow these steps:
1. Tilt your head to the affected side and cover the ear with a cupped
palm.
2. It’s important to cover the entire ear with your palm and seal the
ear tight to create a vacuum.
3. Push your hand to and fro the ear, flattening the palm when you push
towards the ear and cupping it when you move away from the ear. Repeat
as long as needed.
4. You may hear the water being released from the ear canal. As a final
step, tilt the head even further to let the water drain out of the ear.
2. Take a steamy shower
If you feel that the water is stuck deep inside the ear, a steamy shower
or bath may help the water drain. Steam helps the water move from the
middle ear towards the back of the throat through a tiny canal called
the Eustachian tube.
You can also steam your ear and face alone by filling a bowl with hot
water and holding the affected ear over the water while also covering
the head with a towel to trap the steam in. All you have to do is stay
this way for 5-10 minutes and breathe in the steam.
3. Try this ear equalization technique

This method is called the Valsalva maneuver, and it’s useful for
draining water from the inside of the ear by opening the Eustachian
tubes. It’s actually helpful for clearing up any ear blockage, not just
water. Follow these steps to perform the maneuver:
1. Inhale deeply and then close your mouth and cover your nose with your
fingers so that no air is able to escape.
2. Slowly and gradually blow the air out. Make sure not to blow too
rapidly or too hard, as this can damage your eardrum.
3. Release when you hear a popping sound and feel the water drain away.
4. Tug at your earlobe
A gentle tug at your earlobe straightens your ear canal and helps any
trapped water escape. Tilt your head to the side you want to treat or
even lay down while resting the affected ear on a towel. Then gently tug
at your earlobe a few times until the water drains out onto the towel.
It’s as simple as that.
5. Use a hairdryer
Hairdryers have countless handy uses. An ordinary hairdryer can help you
when your ears are blocked with water, for example, as it can evaporate
the water in your ear. Make sure to turn on your blow dryer to the
lowest setting and keep it about a foot (30 cm) away from your ear to
prevent it from burning your skin or ear. Hover the hairdryer over the
ear for a minute or so while also tugging at your earlobe. The latter
will let more of the warm air into your ear canal and help the water
evaporate faster.
6. Make your own ear drops
Dry eardrops are available at drugstores, but if you don’t have any
around at the moment and need to deal with a clogged-up ear, you can try
making your own ear drops. Note that this method only works when the
outer ear is affected and shouldn’t be used if you have a history of any
ear problems.
To make these ear-drops, you’ll need to mix equal parts alcohol and
vinegar. The alcohol aids in the evaporation of the water in your ear.
The vinegar has antibacterial properties and helps remove earwax that
could be the reason why you have water trapped in the ear. Use a
sterilized dropper to administer 3 drops of the mixture into the
affected ear and wait for 30 seconds. Tip your head to the side to allow
the solution to drain out of the ear.
7. Chew, yawn, or just open your mouth
The reason why the water in the ears often
goes away by itself is that ordinary movements like chewing, opening
your mouth, or yawning can help open up the Eustachian tubes and drain
out the water. Chewing on some gum or yawning a few times in a row can
sometimes speed up the process and clear your ears.
If this doesn’t help, open your mouth and move your jaw slightly from
side to side to open the Eustachian tubes. A popping sound indicates
that the Eustachian tubes have opened.
8. The Toynbee maneuver
The Toynbee maneuver is the last technique we will explain in this
article. The technique involves closing your nostrils with one hand and
taking a few sips of water several times until the water is released
through the Eustachian tubes. This technique combines the action of
swallowing water and creating a vacuum seal, which will pump the water
from the middle ear towards the nasopharyngeal cavity.
What NOT to do when you have water trapped in your ears
If you tried all of the remedies we’ve mentioned above and they aren’t working, it’s important to be patient and resist engaging in potentially traumatic procedures like sticking cotton swabs, your fingers, or any other objects inside your ear. All of these actions may actually push the water even deeper, introduce harmful bacteria into your ear canal, or even damage your eardrum.
If you tried all of the remedies we’ve mentioned above and they aren’t working, it’s important to be patient and resist engaging in potentially traumatic procedures like sticking cotton swabs, your fingers, or any other objects inside your ear. All of these actions may actually push the water even deeper, introduce harmful bacteria into your ear canal, or even damage your eardrum.
It’s also important to avoid any ear drops if you have ear tubes or any
history of ear infections. In these cases, it’s important to see a
professional.
Symptoms of an ear infection to look out
for
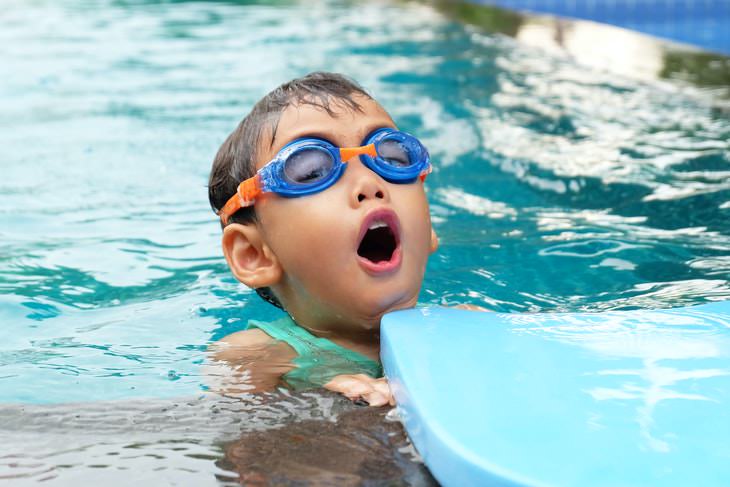
Swimming is the most common way to get water stuck in your ears, but any
exposure to water can technically block your ears. In most cases, the
water will drain out of the ear by itself after a few hours. If they
don’t, the moisture may promote bacterial growth and you could develop a
type of ear infection called swimmer’s ear.
“Swimmer's ear is an infection in the outer ear canal, which runs from
your eardrum to the outside of your head,” states Mayo Clinic. Water in
the ear canal is not the sole cause of swimmer’s ear. Putting fingers,
cotton swabs, and other objects in the ear canal may also damage the
skin in your ears and lead to this infection. Look out for the following
symptoms of swimmer’s ear and seek medical help if you experience any
of them:
- Redness or itching in the ear canal
- Fluid coming out of your ear
- Pain or discomfort that becomes stronger when you tug on your ear or
push on the tragus
- the little bump in front of the ear canal
- Swollen lymph nodes
- A feeling of fullness inside your ear
- Muffled hearing.
If you’re prone to getting water stuck in your ears while swimming or
any other activity, make sure to always dry the outside of your ears
after contact with water. It’s also helpful to use a swim cap or
earplugs while swimming. These methods will help prevent water from
being trapped in your ears and swimmer’s ear.