Everything You Need To Know About Self-Massage
I don’t think there’s a person in the world who hasn't woken up with back or neck pain that restricts movement or radiates to other places, and often the same pain is caused due to trigger points. If you’ve never heard of this phrase, you should know that Trigger Points are “knots in muscles which are sensitive spots of soft tissue.”
Trigger points are microscopic and are most often formed in the back and neck, but also in the arms or legs. While you might think there’s nothing you can do about them, know that with a few self-massage tips you’ll get those kinks right out. So how do you identify trigger points and how should you massage them? Here's all you need to know about self-massage to handle painful trigger points.
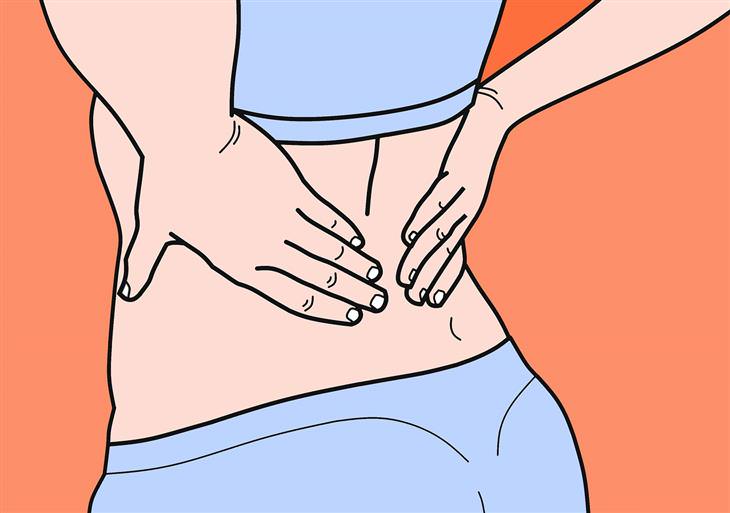
Before we begin - how exactly does massage help release trigger points?
Dr. Janet Travell, who has devoted her career to studying muscle connections, says that most of the pain we experience at trigger points does not actually indicate any problem with muscle tissue, and in fact, massage simply helps to change the body's response to the annoying sensation in the area.
Contrary to this, there are experts who argue that massage does help
release microscopic bonds created by the muscle fibers, but they can’t
explain how it actually helps - does massage release the bonds like
kneading a lumpy mass until it becomes smooth, or maybe massage helps
the muscles release accumulated toxins, what helps it become smooth
again. What they do know is that massage really helps to alleviate pain
and even prevent its return, and therefore, it’s important to know how
to correctly perform self-massage.
How to identify a trigger point
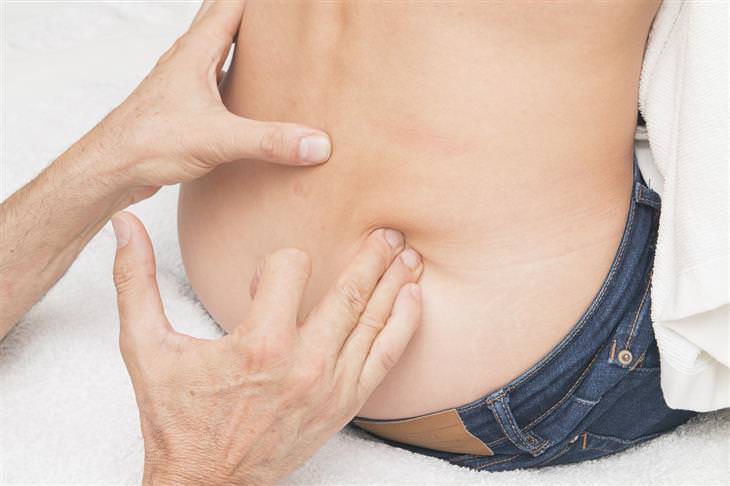
1. Place your fingers on the painful area and gently press it - if the area hurts, it may be a trigger point and you should proceed to the next step. If not, it may be sore due to pain radiating to it from another area.
2. To make sure that the pain is related to the muscles and not to the layers of the skin, try to grab the skin with your thumb and index finger and pull it - if the pressure or pull is painful, this is a sign that this isn’t a trigger point, but a skin-related problem such as a pimple.
3. Press deeply on the painful area, massage the point slightly and try to feel the muscles themselves. If there is pain, it may be a trigger point, but note that sometimes in order to feel the pain, you have to press hard to reach the deep layers of the muscles.
4. Move your fingers vertically in the direction to which the muscle
fibers turn. If all is well, you should feel that the muscles are
smooth, but if it is a trigger point, you will feel a thick bulge in a
muscle that feels somewhat like a tense guitar string - that point in
the muscle should be sensitive to the touch.
How and with what should you massage a trigger point?
You can massage the trigger point with your fingers, fists, elbows, a tennis ball, or any other massage tools as long as you can control its exact position. You can put pressure directly on the trigger point and massage it in circular movements or massage it with forward-backward movements. Any form of massage will help release the trigger point, but the most effective form of massage is parallel to the muscle fibers.
How much pressure should be exerted and what sensation should you experience?
When you massage your body, you "talk" to the nervous system, so you
have to make sure it is done in the right tone. This "conversation"
should be friendly, supportive and helpful, and not loud and coarse, so
avoid putting too much pressure on your muscles. Apply pressure that
makes you feel pain, but doesn’t make you flinch or clench your teeth.
If we try to quantify the pain on a scale of 1 to 10, with 1 being
painless and 10 being unbearable pain, you should aim to feel pain at
about 4-7, more towards 4. The massage should allow you to feel calm and
relieved, like a blessing which has finally come after you’ve suffered
such a long time - it will hurt a little, but it will be a good pain. If
you are clenching your teeth, the pain isn’t good.
How long and how often should you massage trigger points?
You should massage the trigger point for about 30 seconds, depending on how you feel. The area can be massaged for 5 minutes or more if desired, as there is no time limit for a trigger massage, but 30 seconds should be enough to relieve most of the pain from trigger points. As long as you don’t experience any negative reaction from your body due to the massage, you should massage the trigger point two to six times a day for several days until the pain disappears.
How do know that the massage is working?
The goal of massaging trigger points is to eventually lead to the release of the muscle fibers that are causing the pain, but you may even experience some pain after the first massage. Therefore, you may find it difficult to observe whether or not you’re actually able to release the trigger point when the pain may be worse than what you had experienced before the massage.
So how will you know that the massage is working for you? Well, the pain
you will experience after the massage should be a type of releasing
pain. This is actually a "good pain" that causes a certain satisfaction,
like releasing gas that’s ailing your body. This is a bit unpleasant,
but the body knows that it needs to be done and that doing so will help
it release. On the other hand, if you feel like the pain isn’t a release
of sorts you need to ease up on the pressure your applying during the
massage.
A few words to finish
It is very important that you treat trigger points as soon as you
recognize them because trigger points receive low blood flow, which
leads to muscles that don’t get enough oxygen, and because of this,
you‘ll experience difficulty in movement. This difficulty will limit you
and cause you to use the muscle less, which will only lead to a worse
strain and therefore more severe pain. You can avoid this if you
recognize the trigger points in time and take care of them accordingly.