Wednesday, April 14, 2021

If You Don’t Clean These Items, They Become a Fire Hazard!

We all try to keep the living room tidy and the countertop clean, but it’s easy to forget about the nooks and crannies that are usually out of our sight. Cleaning these hidden spots is extremely important - not only for hygiene’s sake but also for your safety. If left untouched for too long, the dirt accumulating in these areas can become a real fire hazard. We rounded up 10 spots you must add to your regular cleaning routine to keep your home and family safe.

1. Air conditioners
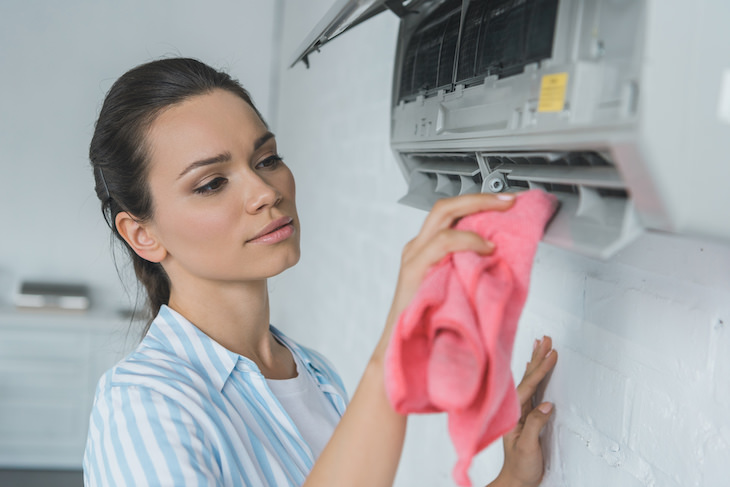
10 Items That Can Cause a Fire When Not Cleaned Regularly air conditioner
Summer is fast approaching, and that means that air conditioner use will soon rise significantly. Even though an air conditioner is meant to cool down a home, neglecting to clean it could potentially lead to a fire. 
 
When cleaning your air conditioner, you want to make sure that the filters don’t accumulate too much dust and that the wiring is fully intact. Broken wires can easily happen as a result of wear and tear. If the wire is totally broken, the risk is low, but if it’s only partially broken or frayed, power continues to flow with increased resistance. This causes overheating and can potentially start an electrical fire. To prevent that, experts recommend cleaning your air conditioner unit thoroughly every three months.

2. Toasters
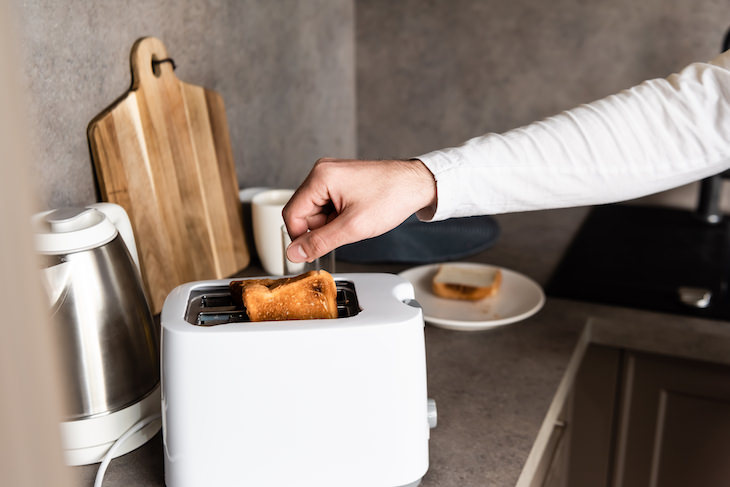
10 Items That Can Cause a Fire When Not Cleaned Regularly toaster
The toaster is one of the most commonly used appliances in many homes, and as such, it needs to be cleaned regularly. Otherwise, it can become a fire hazard. Crumbs easily accumulate at the bottom of the toaster. When the appliance is used again, those crumbs can be reheated and start giving off smoke. Cheese and other ingredients can also melt onto the heating panel, which is even more dangerous. 
 
To stay safe, it’s best to clean the crumbs after every use and make sure that nothing is left on the heat source. 
 
3. Pests and rodents 10 Items That Can Cause a Fire When Not Cleaned Regularly mouse trap
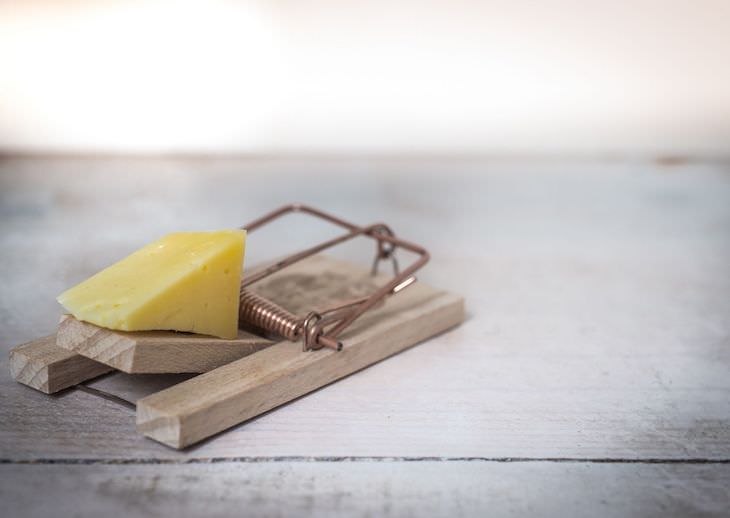
When pests invade your home, the first thing to come to mind is the potential health hazards they bring. What many people tend to forget is that rodents can also increase the risk of a fire. Rodents and birds both like to nest in and on buildings. They seek out small voids like chimneys, vents, and nooks in the walls, and usually make their nests out of flammable materials like lint, bits of fabric, dead grass, and paper. Rodents are also known for their love of gnawing on things, including electrical wires and cables. 
 
If you are not taking measures to ensure these critters stay out of your home, like setting traps and keeping the kitchen clean, you could find yourself ending up in a "volatile" situation.

4. Bathroom exhaust fans
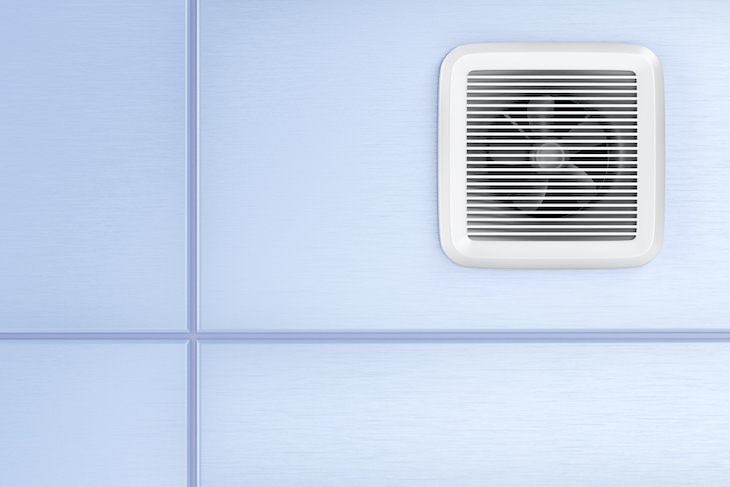
10 Items That Can Cause a Fire When Not Cleaned Regularly bathroom exhaust fan
The bathroom exhaust fan is one of the most overlooked fire hazards in the home. Newer models usually have thermally protected motors that shut off automatically when the motor is overheated. However, older bathroom fans do not have this safety feature. 
 
So, when dust and debris are choking the motor and the fan cover is clogged by dust, the motor can easily overheat and start a fire. If you have an old exhaust fan in your bathroom, it’s vital that you clean the fan cover at least once a year and the motor itself every few years.

5. Outdoor grills

10 Items That Can Cause a Fire When Not Cleaned Regularly outdoor grill
Cooking outside can be a great summer experience, but unfortunately, grill fire accidents are all too common during the warmer months. We’re not saying that you should let go of your beloved barbecues, but be sure to properly clean up and store your grill after each use. Grease build-up is a common cause for fires, so don't underestimate the importance of scrubbing or wiping down your grill after each use. 
 
When cooking on a charcoal grill, always make sure that the coals are fully extinguished when you’re finished. When you no longer see any red glow on the coals, hose it down with water, and stir up the coals until they turn into an almost liquid mixture.

6. Dryer vents
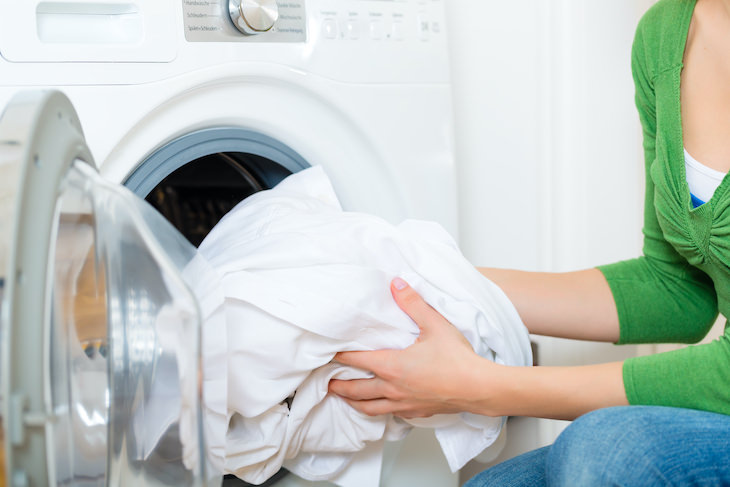
10 Items That Can Cause a Fire When Not Cleaned Regularly dryer
According to the National Fire Protection Association, nearly 17,000 clothes dryer fires are reported each year. To lower that risk, it’s important to clean the lint from your dryer and the dryer vent on a regular basis. Otherwise, lint can gradually build up and catch fire in the heating element or exhaust duct. 
 
7. Unwashed rags and cloths
An item as simple as an oily rag used for staining left in the garage or basement can start a house fire. That’s because a chemical reaction between cotton and certain oil-based stains can cause spontaneous combustion. 
 
After using a cotton rag for oil staining, it should be placed in a metal can with a tight-fitting lid and soaked in a solution of water and laundry detergent for three days. Only then it can be disposed of safely.

8. Hairdryers
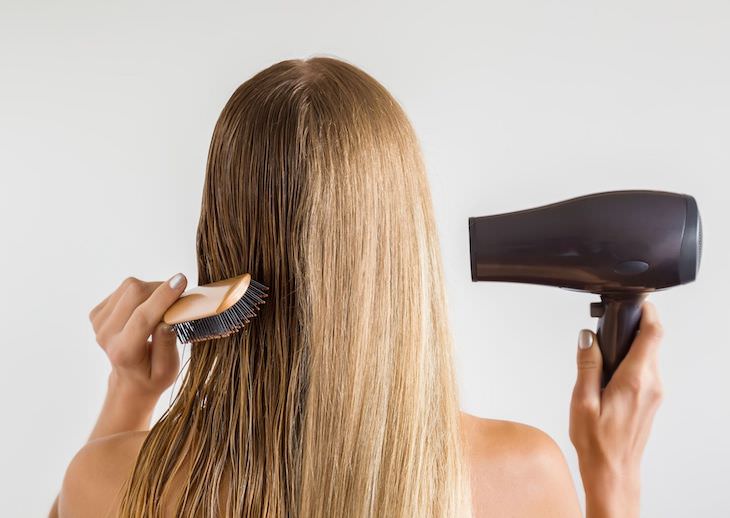
10 Items That Can Cause a Fire When Not Cleaned Regularly hairdryers
If a hairdryer is used every day, hair and dust start to build up inside the appliance. Not only is it unhygienic, but it can also be downright hazardous. If the appliance smells like burned hair or occasionally shocks you, these are clear signs that it needs to be cleaned or replaced. 
 
Cleaning the hairdryer is simple and shouldn’t take more than a few minutes. Firstly, make sure it’s unplugged. Next, remove the filter located at the back of the dryer. Some filters will twist right off, while others will require a screwdriver. Once the filter is removed, place it under running water for a few seconds until all the dirt comes off, and dry it with a lint-free cloth or paper towel. Make sure the filter is completely dry before reattaching it. 
 
9. ​Lawnmowers
Most of us tend to push the lawnmower into the shed after using it and forget about it until the next time we need it. Unfortunately, that is not a safe habit. When a lawnmower isn’t maintained and cleaned properly, debris or dry grass can get stuck in the mower deck and start a fire. That is especially common during the warmer months. Try and make it a habit to clean your lawnmower after each use. 

10. Range hoods

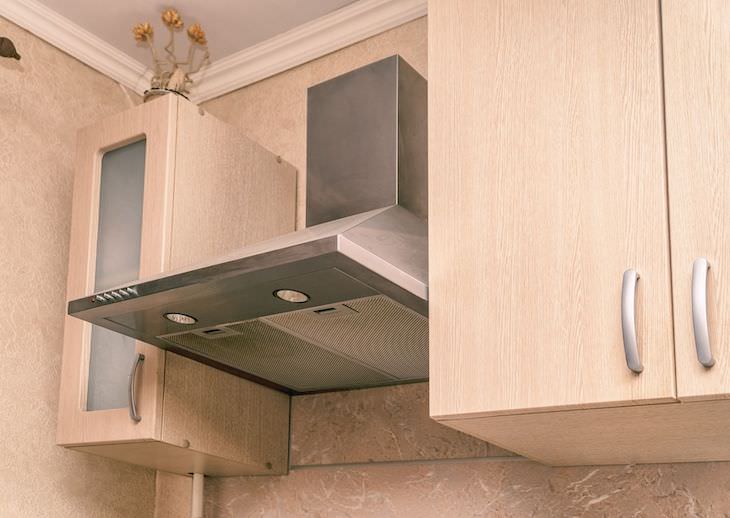
10 Items That Can Cause a Fire When Not Cleaned Regularly range hoods

Cleaning the range hood is key, too. A dirty hood can easily be ignited by old grease or cooking oil splatters stuck in the hood. Additionally, the buildup could clog the filter and destroy your ceiling, with bubbles and residue forming in the places where the air isn’t able to be filtered out properly. To clean the range hood, experts recommend using a little hot water, baking soda, and degreasing soap once a month.
 

This is only for your information, kindly take the advice of your doctor for medicines, exercises and so on.     

https://gscrochetdesigns.blogspot.com. one can see my crochet creations  
https://gseasyrecipes.blogspot.com. feel free to view for easy, simple and healthy recipes    
https://kneereplacement-stickclub.blogspot.com. for info on knee replacement


Labels: , , , , , , , , , , , , ,

Monday, March 29, 2021

The Right Way to Clean Cloth Face Masks and Coverings During the Coronavirus Outbreak

To slow the spread of the coronavirus, the CDC recommends wearing a face mask or covering any time you go to grocery stores, pharmacies, or other places where social distancing isn't possible. Since N95 respirators and surgical masks should be reserved for healthcare workers, you can put your DIY skills to the test by creating their own cloth face masks right at home, either by following an easy-to-sew pattern or a quick no-sew tutorial.

As a reminder, the CDC urges that select individuals aren't required to wear face coverings, including children under age 2, anyone who has trouble breathing, or is unconscious, incapacitated or otherwise unable to remove the mask without assistance. Everyone else should follow the CDC's guidelines and wear a face mask in public. All face coverings — DIY or otherwise — should meet the following requirements, as outlined by the CDC:

  • Fits snugly but comfortably against the side of the face
  • Be secured with ties or ear loops
  • Includes multiple layers of fabric
  • Allows for breathing without restriction
  • Can be laundered and machine dried without damage or change to shape

The Good Housekeeping Institute Textiles Lab suggests that tightly woven, 100% cotton is the best fabric to use, which means you can turn a bandana, or fabric from pillowcases, curtains, or woven shirts into a face mask or covering. Be sure to avoid knit fabrics, like jersey T-shirts, because they create holes when stretched. To make the mask even more protective, use a nonwoven interface, coffee filter, or HVAC filter (as long as they don't contain fiberglass) inside the mask to help block particles.

Making or buying a face mask is just half of it. To ensure that you and your loved ones are staying as safe and healthy as possible, it's also important to clean cloth face masks regularly to limit the spread of germs. There are differing reports on whether or not coronavirus can live on clothes. Harvard Health, in particular, suggests that the disease is more likely to live on hard surfaces (think: countertops and door handles) than soft surfaces like fabric. Regardless, the CDC, along with the Good Housekeeping Institute Cleaning Lab, urges that you give cloth face masks the same level of care as your regular laundry, which means you should wash and dry them often per the CDC's guidelines.

How to Clean Face Masks

The CDC has specific guidelines on how to properly clean most cloth and fabric masks.

If using a washing machine:

  • Include your mask in the regular laundry
  • Use regular laundry detergent and the warmest appropriate water setting for the cloth
  • Lay flat and let dry completely, or dry on the highest heat setting

If washing by hand:

  • Check the mask's label to see if bleach is recommended for disinfection. If bleach is suggested, go for bleach containing 5.25% – 8.25% sodium hypochlorite.
  • Mix a bleach solution with 5 tablespoons (1/3 cup) of 5.25% – 8.25% bleach per gallon of room temperature water or 4 teaspoons of 5.25% – 8.25% bleach per quart of room temperature water
  • Soak the mask in the bleach solution for five minutes
  • Discard the bleach solution down the drain and rinse the mask thoroughly with cold water
  • Lay flat and let dry completely, or dry on the highest heat setting

While there are some other cleaning methods floating around the Internet that suggest sanitizing face masks by sticking them in the microwave, oven, or a pot of boiling water, Carolyn Forte, Director of the Good Housekeeping Institute Cleaning Lab, doesn't recommended them since they are nowhere near as effective as standard washing and drying.

How to Clean Face Mask Filters

Think about it: You wouldn't make coffee with an old coffee filter — the same idea applies for face coverings. Most filters that you would add to homemade face masks are intended for single use, so it's best to replace them after each use.

  • Coffee filters: Disposable paper products are not washable, so replace them after each use.
  • HVAC filters: While they are washable, manufacturers warn that they're intended for single use. If you decide to sew the filters between cotton fabrics, wash in the same way as mentioned above, but keep in mind that the effectiveness will decrease with each wash.
  • Medium weight nonwoven interface: This fabric is typically washable, so follow the method mentioned above.

How Often You Should Clean Face Masks

There aren't any hard and fast rules regarding how often you should wash face masks because it's really depending on the frequency of use, according to the CDC. If you want to be extra cautious or think there may be a possibility that someone is symptomatic, or has sneezed or coughed within close proximity, clean your face mask after each use.


This is only for your information, kindly take the advice of your doctor for medicines, exercises and so on.     

https://gscrochetdesigns.blogspot.com. one can see my crochet creations  
https://gseasyrecipes.blogspot.com. feel free to view for easy, simple and healthy recipes    
https://kneereplacement-stickclub.blogspot.com. for info on knee replacement

Labels: , , ,

Great Uses for Lemon Peels

Lemons have a lot to offer: they’re delicious, refreshing and have an aroma that can upgrade many dishes. Adding a bit of fresh lemon juice to a cup of water in the morning can do wonders for our level of alertness throughout the rest of the day. But what about those lemon peels?

If you like to add lemon to your diet on a regular basis, you probably throw the peels in the trash. Did you know, however, that the peels are incredibly rich in vitamins, minerals, and fibers that can increase your food’s nutritional value, aid in house cleaning, and even be used to maintain your skin’s health? The following recipes will show you how you can add lemon peel to your day-to-day life with ease.

uses for lemon peels
1. Homemade Lemon and Herbs Butter  uses for lemon peels
Would you believe that you can enjoy this delicious butter without going to a fancy restaurant? Simply turn the plain butter you’ve got at home into a gorgeous and delicious lemon and herbs butter you can enjoy at every meal.

Ingredients
• ¼ cup chopped mixed herbs (such as chives or parsley) 
• ½ cup butter (softened) 
• 1 teaspoon of lemon zest 
• Pinch of salt 
 
Preparation
1. In a bowl, mix the butter, zest, and herbs. Stir and season to taste. 
2. Transfer the content to a baking sheet, roll it into a cylinder and fold the edges. 
3. Wrap the baking sheet with aluminum foil. 
4. Refrigerate until the mixture solidifies. The butter can be kept in the fridge for up to 2 weeks or can be frozen for 3 months.

2. Candied Lemon Skins 
This is an unusual treat, and if you want to keep the peel's sour flavor, just use less sugar than called for in the recipe.
uses for lemon peels
Ingredients
• 4 large lemons 
• 2 cups of sugar 
• 8 cups of water 
 
Preparation: 
1. Peel the lemons and cut the peel into thin strips. 
2. Place the peel on a cutting board and remove as much of the fruit as you can using a sharp knife. 
3. Boil 2 cups of water in a medium-sized pot. Add the peel strips to the boiling water and cook for 2 minutes. This will remove most of the bitterness in the peel. Remove the peel strips from the water. 
4. Repeat the process 2 more times, using fresh water each time. 
5. Empty the pot, add 2 new cups of water and 2 cups of sugar. Let it simmer to produce a sugary syrup. 6. Lower the heat and add the lemon peel. Cook the strips in the syrup for an hour – they should become soft and translucent. Use a fork or tongs to remove the strips from the syrup and leave them on a drying rack to dry out – this should take a few hours.
uses for lemon peels
7. After removing the strips from the water, you can sprinkle sugar on them. (optional) 
8. Move the dry peel pieces to a sealed container. The dried peel pieces will stay fresh for several days at room temperature, or for several weeks in the fridge. 
 
3. Add Some Zest to Your Olive Oil  
Transform your plain olive oil into a delicious and nutritious lemon-oil. This upgrade will have your guests begging for the recipe. 
 
Ingredients:  
• 1 cup of olive oil 
• 2-3 tablespoons of lemon zest. 
 
Preparation:  
Combine the zest and oil in a sealable jar and leave it for 2 weeks. 
Give the jar a good shake every few days. 
Finally, use a sieve to remove the zest from the oil and store in the fridge. 
 
4. Jazz Up Your Drinks with a Lemony Ice-Cube  uses for lemon peels
Add some extra flavor to any drink you serve this summer by adding a couple of fancy lemon ice-cubes. Cut the lemon peels into spirals and remove as much of the fruit as you can from them (this will make it less bitter). Cut the spirals to fit in an ice tray, fill the tray to the half-way point and put one spiral in each segment, making sure a small bit stays out of the water. After freezing, you’ll be left with fancy-looking ice cubes.
 
5. Make a Lemon-Pepper Seasoning Mix  
 
 uses for lemon peelsuses for lemon peels
This seasoning mix can work for almost any kind of dish whether it’s a salad, fish, or chicken. Preparation is very simple, and the ingredients are 100% natural.
 
Ingredients:  
• Zest from 5 lemons 
• ⅓ cup black pepper (whole) 
• ¼ cup salt (optional) 
 
Preparation: 
1. In a bowl, mix the zest and black pepper. 
2. Line an oven tray with a baking sheet and spread the mix on top of it.
3. Bake the mixture for about an hour at 150°C (300°F), until the zest is completely dry. To make certain that the whole tray bakes evenly, remove it from the oven after 30 minutes and give it a shake, and then place it back in the oven. 
4. Grind the pepper-zest mix in a food processor or a coffee grinder.
 uses for lemon peels
5. Once the mixture is ready, you can add salt if you wish. 
 
6. All-Natural Ant and Pest Repellent  
Place small pieces of lemon peels along your windowsills, doors, and any other cracks and holes that ants use to sneak into your house. Ants hate the scent of lemon, so they’ll be reluctant to return to that area again. The peels are also particularly effective against fleas, making them an ideal solution for pet owners that want to protect their 4-legged companions from those nasty parasites.


7. Freshen Up Your Home 
The scent of fresh lemon can freshen up your home and get rid of unpleasant smells quickly and easily. 
 
Freshen up the fridge: Place a few small pieces of lemon peel in the fridge. The skin will absorb any unpleasant odors while setting off its own citrus scent. 
 
Freshen up the trash bin: Put a few pieces of lemon peels at the bottom of the bin to absorb the bad odors. 
 
Freshen up closets: Sun-dry lemon peels and put them in small potpourri bags. Add spices such as cinnamon, cloves, nutmeg, and put it in your closets to keep them smelling fresh. 
 
8. Effectively Clean Surfaces and Utensils 
The lemon’s natural acidity is antibacterial and can help you clean many things in the kitchen.
 
Clean plaque residue in kettles: Fill the kettle up with water, add a few thin slices of lemon peel, and boil the water. Allow the boiled water to sit for an hour, and then empty and wash the kettle. 
 
Remove the smell of coffee: If your coffee maker’s pitcher is starting to smell like old coffee, empty it, put some lemon peels, a few pinches of salt and some ice-cubes. Shake well and wash the pitcher. 
 
Freshen up the dishwasher: If your dishes come out of the dishwasher smelling somewhat funky, add some lemon peel to the next load. This cleans both the machine and removes any foul-smelling residue. 
 
Clean and deodorize cutting boards: After washing your cutting board with water and dish soap, rub the surface with the outside of a lemon peel. Let it sit for 30 minutes and then rinse.
uses for lemon peels
Clean your microwave: Fill a bowl halfway with water and add a few pieces of lemon peels. Pop it in the microwave and run it on high for 5 minutes. The heat will boil the water, and the lemon-infused steam will clean the sides and top of the microwave. Once it’s done, remove the bowl (Careful! It’s hot!) and wipe down the surfaces. 
 
Save your utensils: If you have old knives, pots, or any other metallic utensils that have lost their shine or have grime that simply won’t go away, there’s an effective solution you can use - sprinkle some sea salt on the utensils, then rub them with a lemon peel. Rinse and watch how all the dirt, grime, and stains wash away.

9. Foot Spa 
If you want to soften any hard skin on your soles, boil water with lemon peels and let it cool down. Add ¼ cup of milk (bovine or almond), 2 tablespoons of olive oil, and a few drops of essential oil of your choice. Pour the mixture into a tub and soak your feet in it for 20 minutes, then dab your feet dry. 
 
10. Polish and Brighten Your Skin with a Homemade Scrub 
This homemade scrub will help to soften your skin, in addition to brightening any sun damage it may have experienced. Similar to other exfoliating agents, avoid using this scrub on wounds or sensitive and irritated skin, as well as skin riddled with acne. To make this scrub, you’ll need to extract the lemon’s natural oils. uses for lemon peels 
 
Ingredients for lemon oil: 
• Lemon peels 
• Coconut oil 
Preparation:  
1. Wash and dry the lemon peels. 
2. Cut the peels into long, thin strips. 
3. Put them in a large pot and pour the coconut oil on top. 
4. Let the oil lightly boil for 5 minutes, and then put the mixture on the side to let it absorb all the aroma and flavor. 
5. Sift out the peels and pour the liquid into a jar. (Store in a cool, dry place). 
 
Ingredients for the scrub: 
 • Unrefined sea salt
 • ⅓ cup lemon oil 
• A few drops of essential oil of your choice (optional) 
 
Preparation: 
1. If you use crude sea salt, grind it down to prevent damage to the skin. 
2. Mix the ingredients and transfer the mixture to a jar. Store in a cool, dry place. 
 
Use: Before turning on the water in the shower, put some of the scrub on a washcloth, exfoliating glove, or your bare hands. Rub your skin with the scrub in circular motions, and then proceed to shower regularly. 
 
11. Morning Face-Wash 
Many kinds of face washes contain alcohol and are thus not recommended for daily use, as the alcohol dries out and irritates your skin. You can rub the outside of a lemon peel onto your face before rinsing it. Avoid contact with the eyes. 
 
12. Pamper Your Hands  
Lemon peels can help you with most hand and arm-related issues, and can even help your fingernails shine.  
Fingernail bleach – Clean stains from your fingernails by gently rubbing them with a lemon peel. 
 
Soften elbow skin – Sprinkle some baking soda on the outside of a lemon peel and place it against your elbow. Twist the peel as if you’re juicing it for a few minutes, then rinse your elbow. 
 
Lighten age spots – If you have age spots on your hands and arm, you can use lemon peels to lighten them by rubbing a small piece against the stain and leaving the juice on for an hour. Avoid sunlight until you wash yourself to prevent damage to your skin.
 

This is only for your information, kindly take the advice of your doctor for medicines, exercises and so on.     

https://gscrochetdesigns.blogspot.com. one can see my crochet creations  
https://gseasyrecipes.blogspot.com. feel free to view for easy, simple and healthy recipes    
https://kneereplacement-stickclub.blogspot.com. for info on knee replacement


Labels: , , , , , , , , , , , , ,