Yoga Poses to Soothe Osteoarthritis
Osteoarthritis
(OA) is the most common form of arthritis. It is a joint disease,
whereby the healthy cartilage that cushions the bones at the joints
breaks down through wear and tear leading to:
• Stiffness
• Pain
• Swelling
• Limited range of joint motion.
Lifestyle changes, including a gentle yoga practice have been shown to improve symptoms associated with OA. In fact, one study compared
patients with OA of the hands who tried a series of yoga poses for six
weeks, alongside patients who did not do yoga. The group who did yoga
experienced significant relief in joint tenderness, pain during activity
and finger range of motion.
A
gentle yoga practice is advised for OA patients, especially when first
starting out. Strenuous yoga poses or exercises should be avoided.
Note: While the below yoga routing is very gentle, it's best speak to your doctor before starting any new exercise regimen:
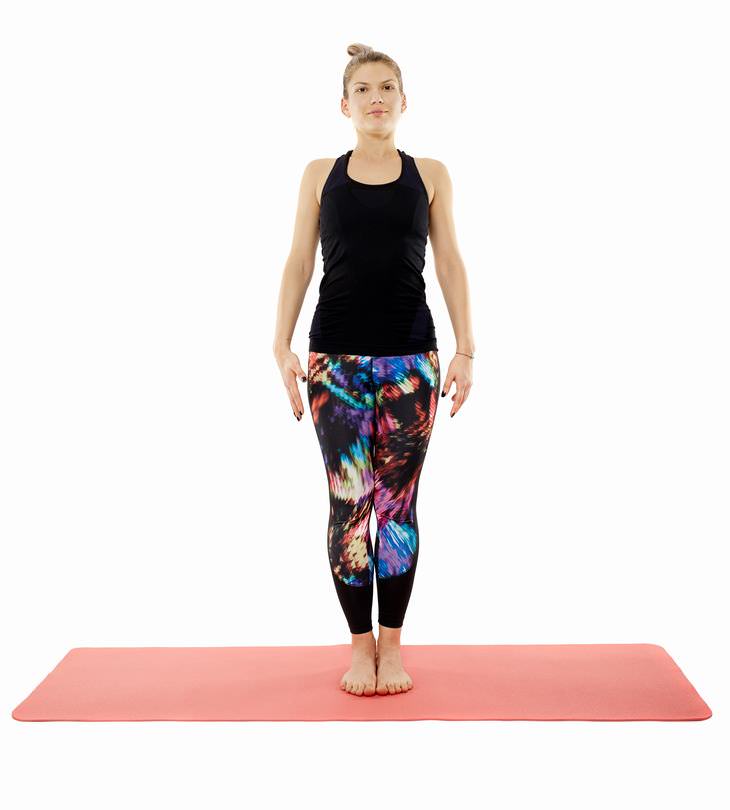
1. Mountain Pose

Here's How:
• Stand with your feet together, big toes touching. Your second toes should be parallel and your heels slightly apart.
• Lift and spread your toes wide, then place them back down on the floor. This should enable you to find the right position. You can rock back and forth or side to side.
• Keep your weight balanced evenly on each foot. Stand tall and keep your spine neutral. Keep your arms relaxed and down at your sides with your palms facing outward.
• Hold the pose for 1 minute remembering to breathe deeply in and out.
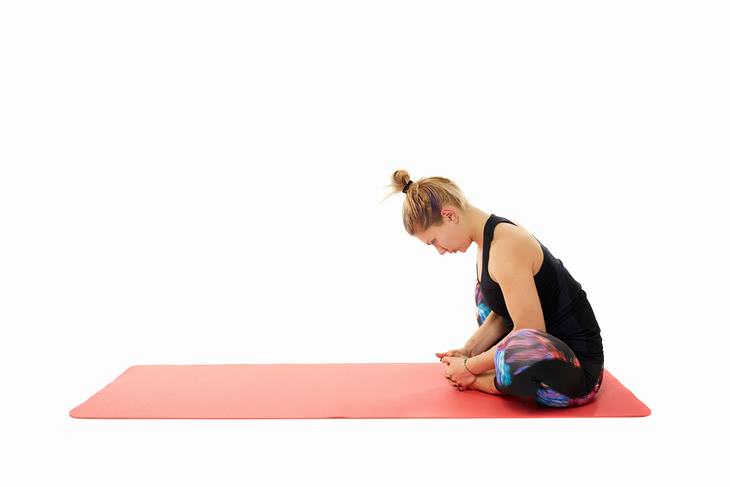
2. Bound Angle

Here's How:
• Start in a seated position with your legs straight out in front of you.
• Then, bend your knees, and pull your heels in toward your pelvis. The goal is to bring your heels close to your pelvis without straining.
• Drop your knees to the side, while staying relaxed and press the soles of your feet together, keeping the outer edges of your feet to the floor, maintaining the position.
• Hold the pose for about 5 minutes.
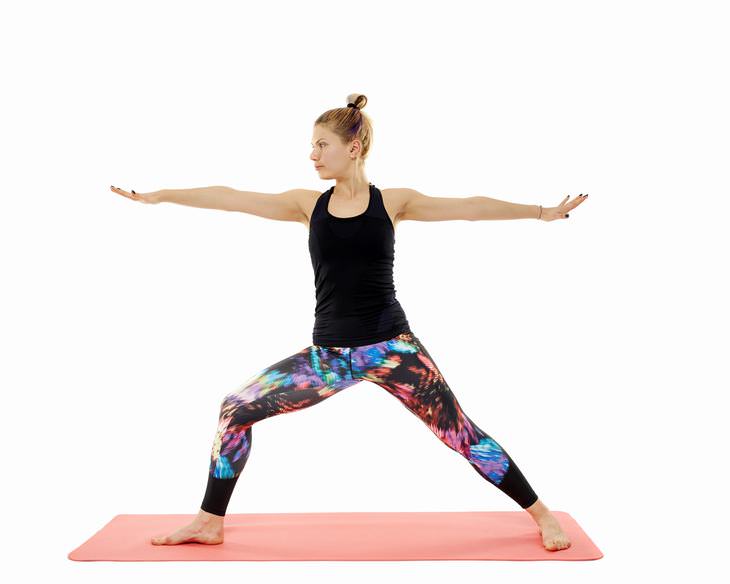
3. Warrior 2

Here's How:
• From mountain pose, step your feet about 4-feet apart.
• Lift your arms up and out until they are parallel with the floor. Keep your palms face down.
• While keeping your heels aligned, turn your right foot 90 degrees.
• Exhale and bend your right knee over your right ankle, keeping your shin perpendicular to the floor.
• Turn your head right, looking over your outstretched fingers.
• Hold the pose for 1 minute then reverse your feet and repeat on the opposite side.
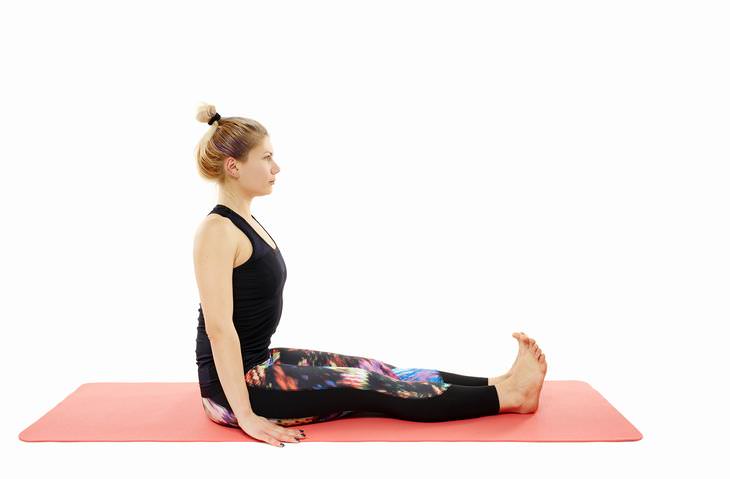
4. Staff Pose

Here's How:
• Sit on the floor with your legs together, stretched out in front of you. For extra comfort you may want to sit on a blanket.
• To maintain proper alignment you may want to sit against a wall, keeping your shoulder blades against the wall, but not your lower back and back of the head.
• Keep your thighs firm, pressing them down while rotating them toward each other.
• Flex your ankles, using your heels to press out.
• Hold the pose for 1 minute.
THIS IS ONLY FOR INFORMATION, ALWAYS CONSULT YOU PHYSICIAN BEFORE
HAVING ANY PARTICULAR FOOD/ MEDICATION/EXERCISE/OTHER REMEDIES.
PS-
THOSE INTERESTED IN
RECIPES ARE FREE TO VIEW MY BLOG-
https://gseasyrecipes.blogspot.com/
FOR INFO ABOUT KNEE
REPLACEMENT, YOU CAN VIEW MY BLOG-
https:// kneereplacement-stickclub.blogspot.com/
FOR
CROCHET DESIGNS
https://gscrochetdesigns.blogspot.com
Labels: bound angle, breaks down, cartilage, lifestyle changes, limited mobility, mountain pose, Osteoarthritis, pain, staff pose, stiffness, swelling, warrior pose, yoga

0 Comments:
Post a Comment
<< Home