10 yoga poses for weight loss
Most people think of Yoga as something that helps calm the mind, but that’s not all. Yoga is a great way to shed those extra kilos and stay in shape. It’s like an aerobic exercise, which when done at a moderate speed can help one lose weight.
Yoga helps to relieve stress, which is one of the main causes of weight gain. When practiced regularly, it leaves you feeling relaxed, fresh and focused. Yoga brings your mind, body and breath in harmony, thereby eliminates stress from your life.
Here are 10 easy yoga asanas that you can do anywhere anytime and lose weight:
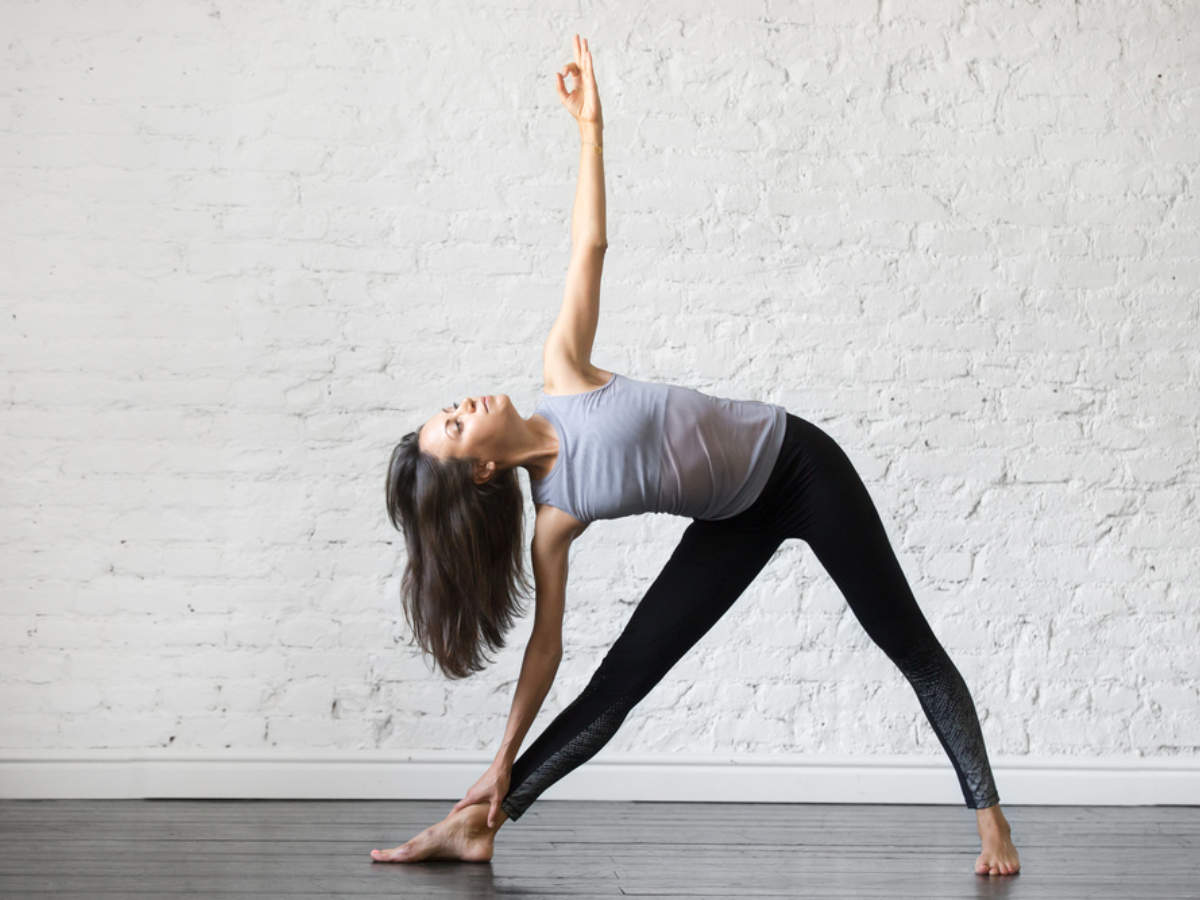
1) Trikonasana (Triangle pose)
 ++
++
To
perform this pose, stand straight with your feet wide apart and hands
straight parallel to the ground. Now bend on your left side and try to
touch your left foot with your left hand. Stay in this position for
10-20 seconds and repeat with the other side.
The twisting motion of the asana helps to improve the digestion and reduces the fat deposit from the belly. The pose engages the muscles of your legs and arms and helps you build more muscles.
The twisting motion of the asana helps to improve the digestion and reduces the fat deposit from the belly. The pose engages the muscles of your legs and arms and helps you build more muscles.
2) Upwards dog
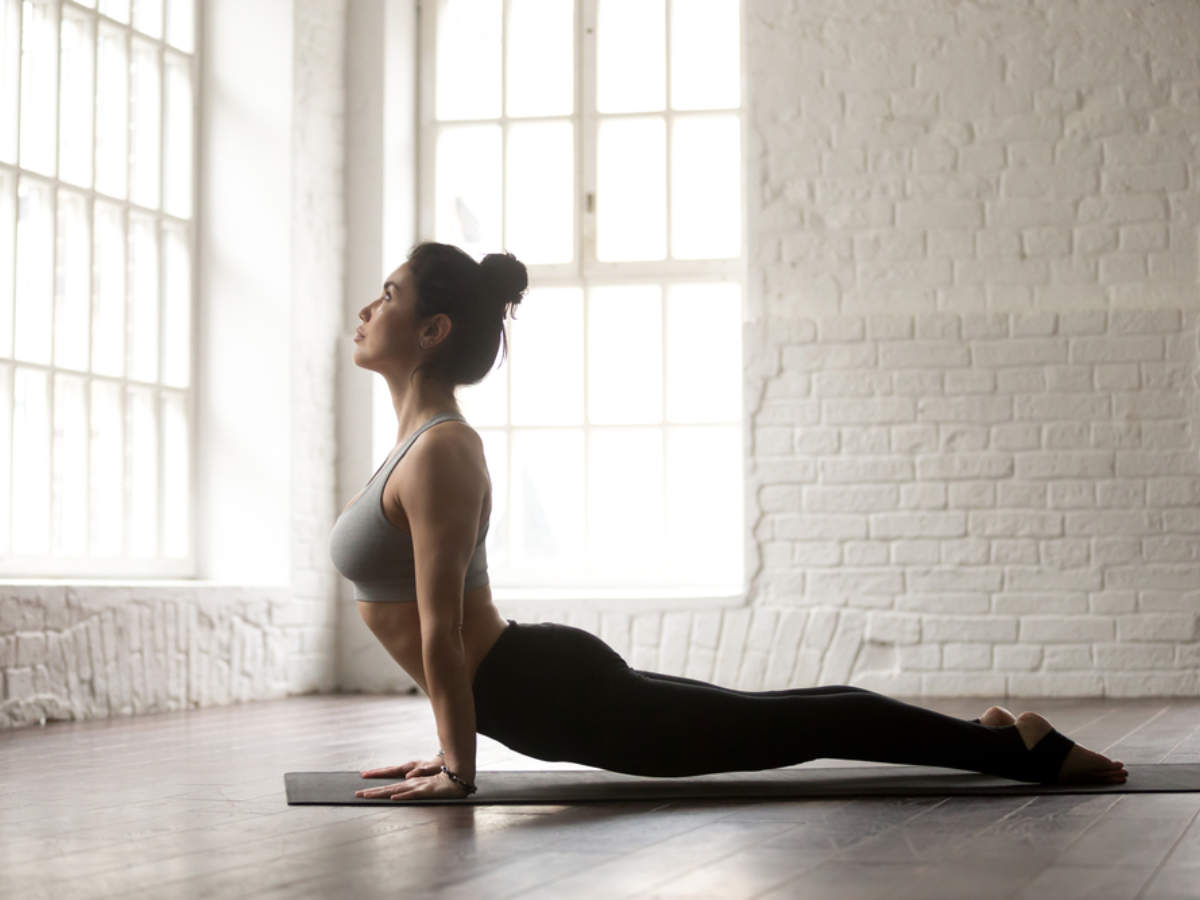
To
perform this pose, lie flat on your stomach with hands extended forward
and palms facing down. Now keep your hands right below your shoulders,
lift your upper body and look up. Your lower abdomen and thighs should
be flat on the floor.
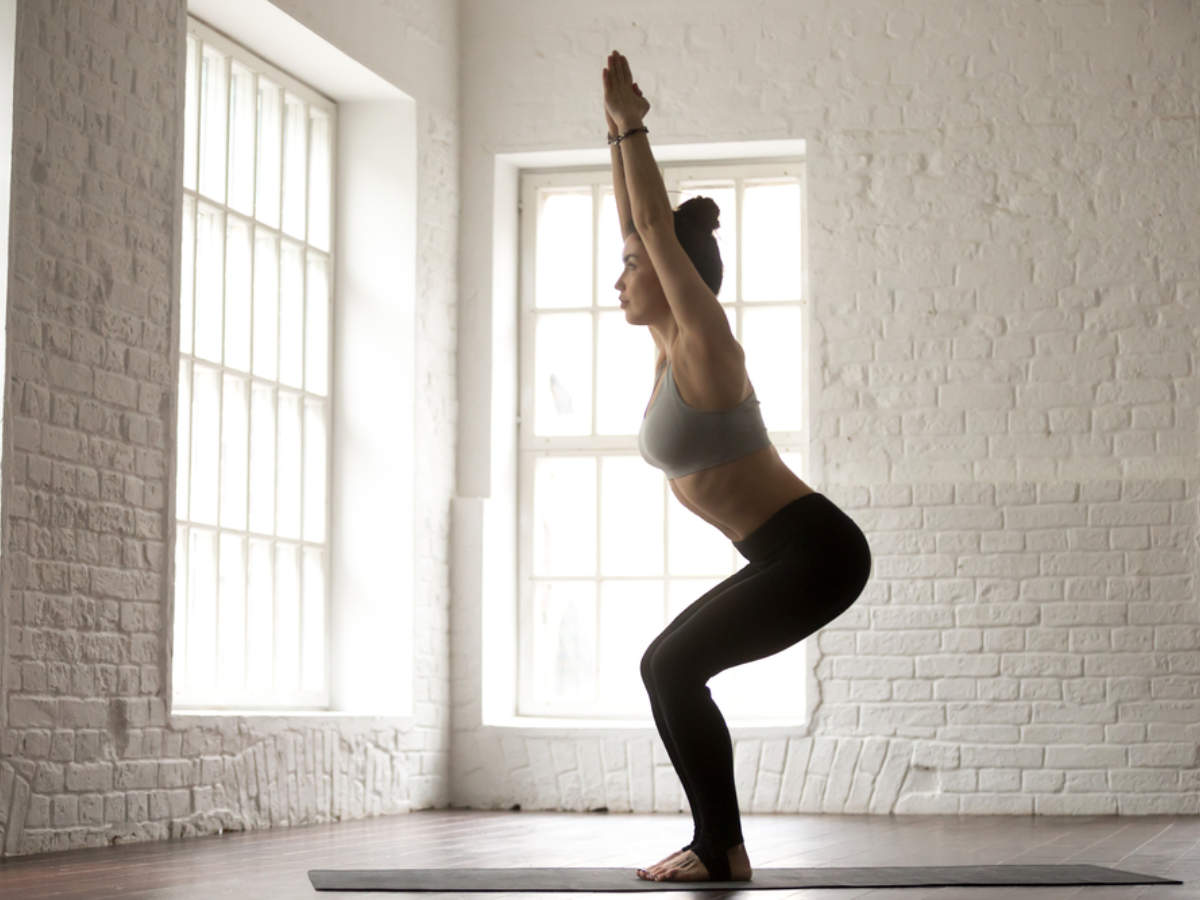
3) Chair pose

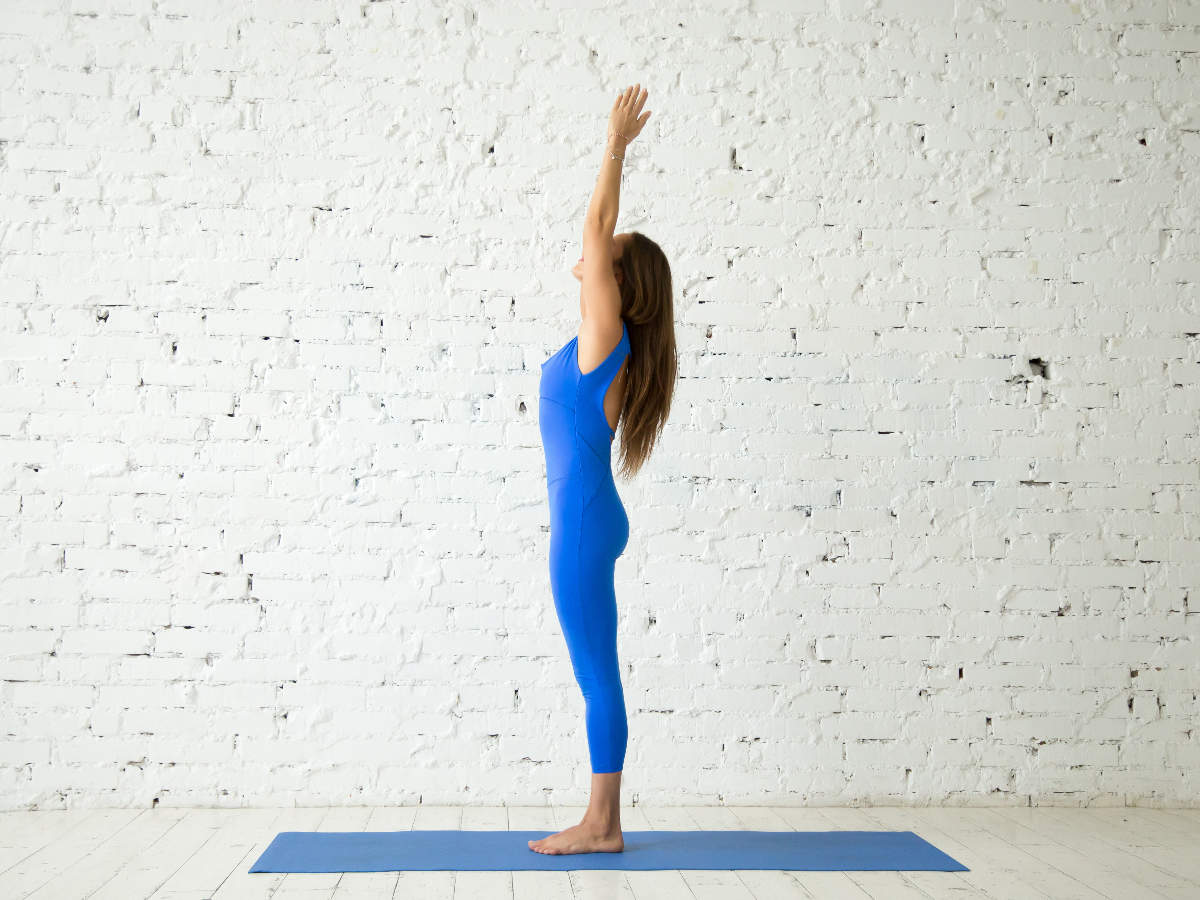
Stand
straight with your feet joined together and hands by your side. Now
raise your arms above your head such that your palms face each other and
now bend slowly from your knees, exactly like you'd do in a squat
position. Your thighs should be parallel to the ground. Stay in the
position for 10-15 seconds.
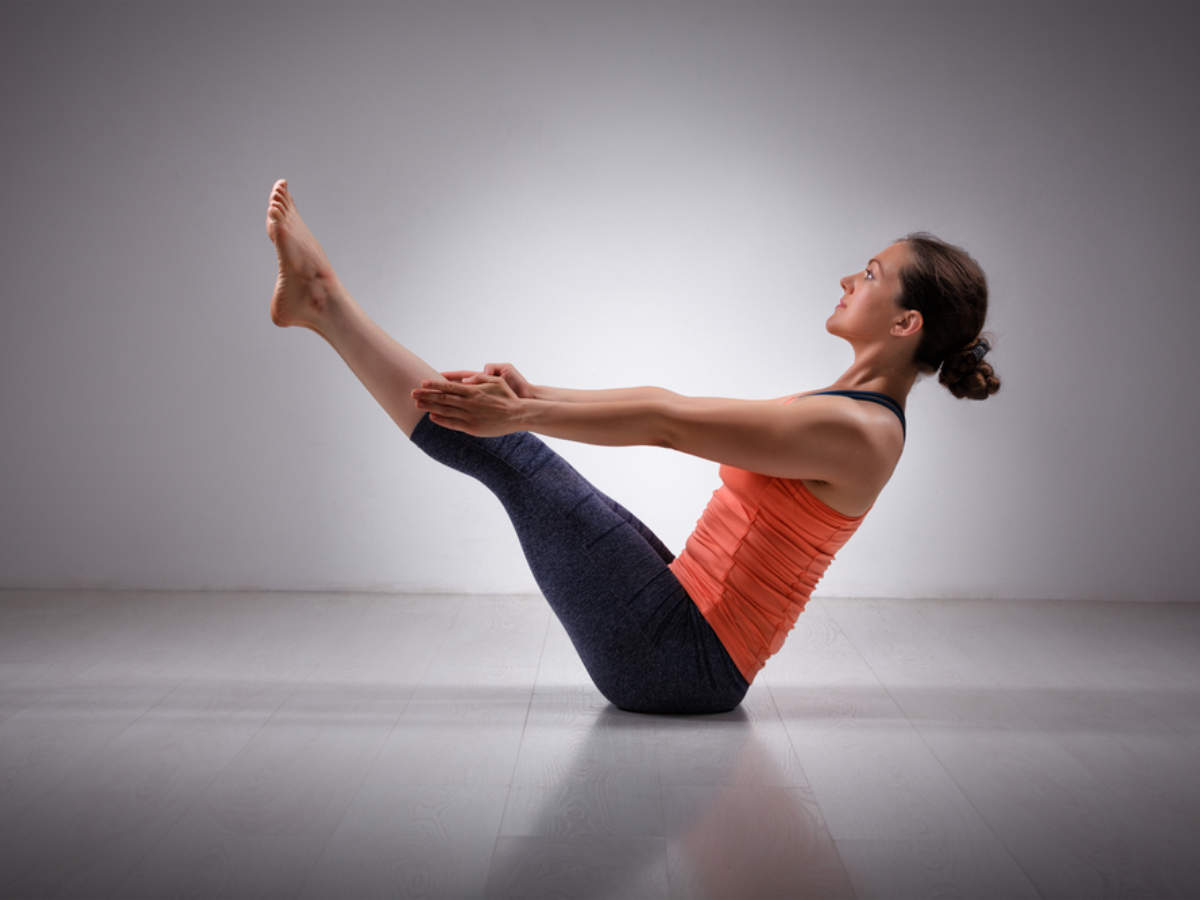
4) Boat pose

As
the name suggests, your body looks like a boat when in this position.
To perform the asana, lie flat on the ground with your hands by your
side. Now slowly lift your upper body and legs, such that your body
forms a V shape. Keep your hands straight, parallel to the ground. Stay
in the position for 10-20 seconds.
5) Angle pose

Stand
straight with your feet hip-width apart and your hands by the side. Now
raise your hands above your head and join them together. Bend from your
torso towards your left with your hands joined together. Repeat on the
other side.
6) Bow pose (Dhanurasana)

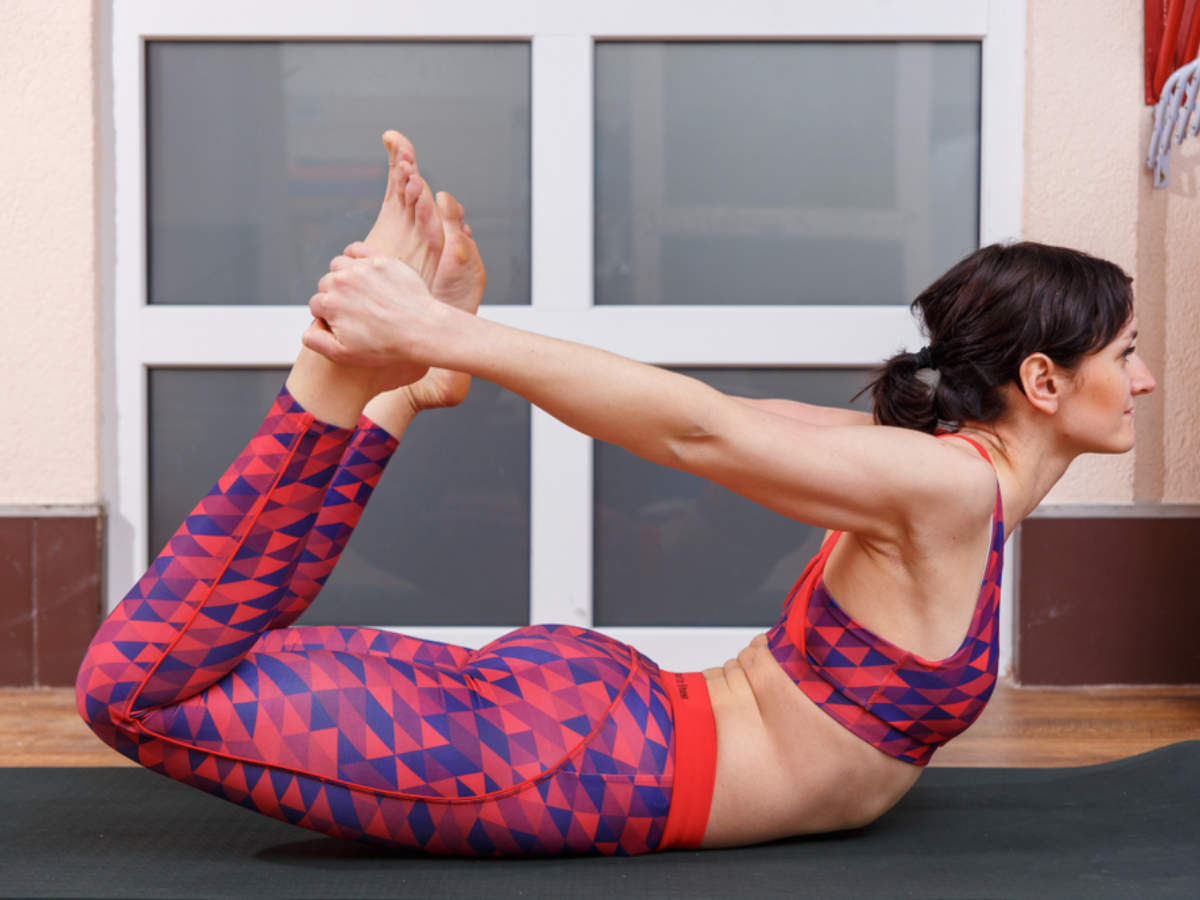
To
perform this asana, lie flat on the stomach. Now slowly start lifting
your upper body, just like you do in cobra pose and simultaneously also
lift both your legs. Now hold your legs with your hands and stay in the
position for as long as comfortable.
7) Bridge pose (Setu bandha Sarvangasana)

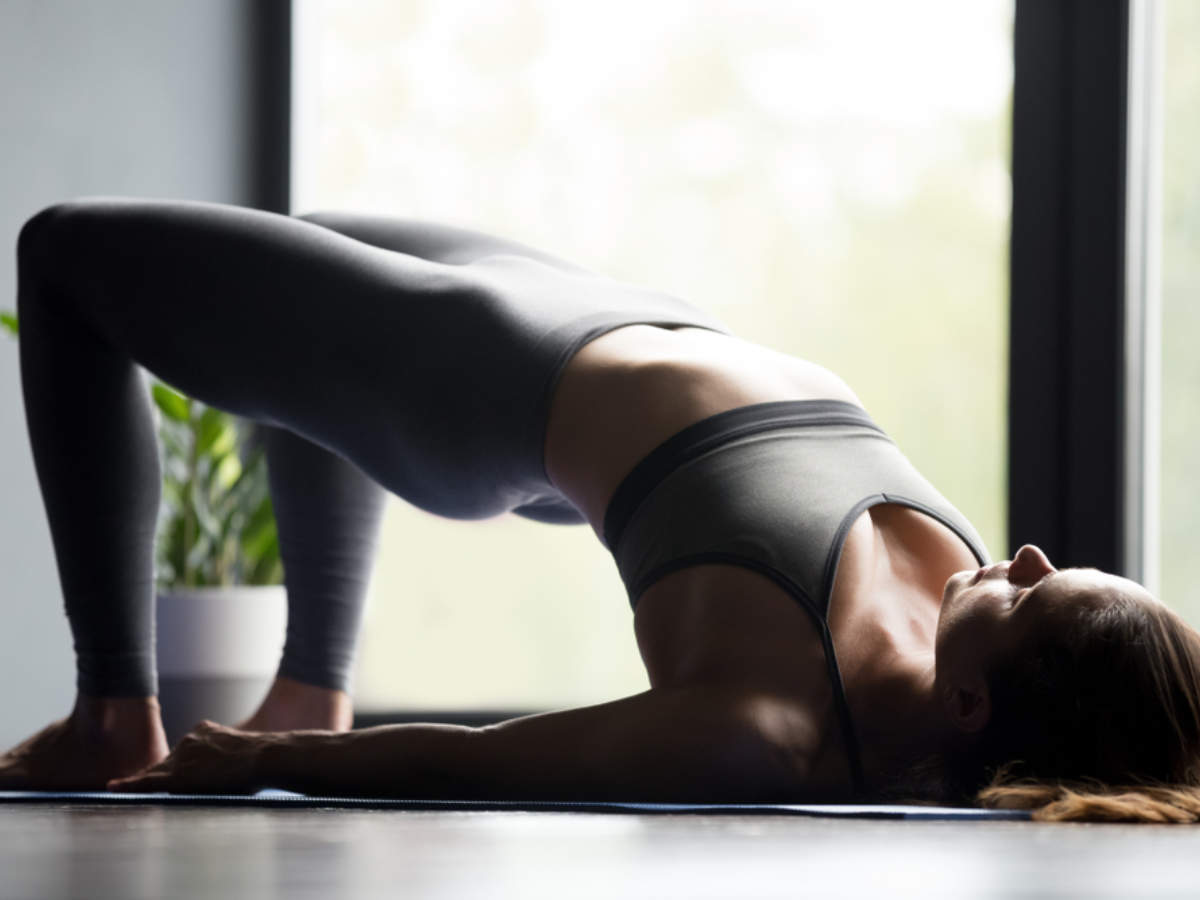
Start
by lying on your back, with knees bent and feet flat. With your heels
firmly placed on the mat, lift your tailbone up such that your hips and
lower back are off the mat. Place your hands under your hips and lace
the fingers together. Use your glute muscles, hamstrings and abdomen to
hold your bottom and back up. Release your fingers and slowly lower your
tailbone back down. Relax and repeat.
8) Child’s pose (Balasana)

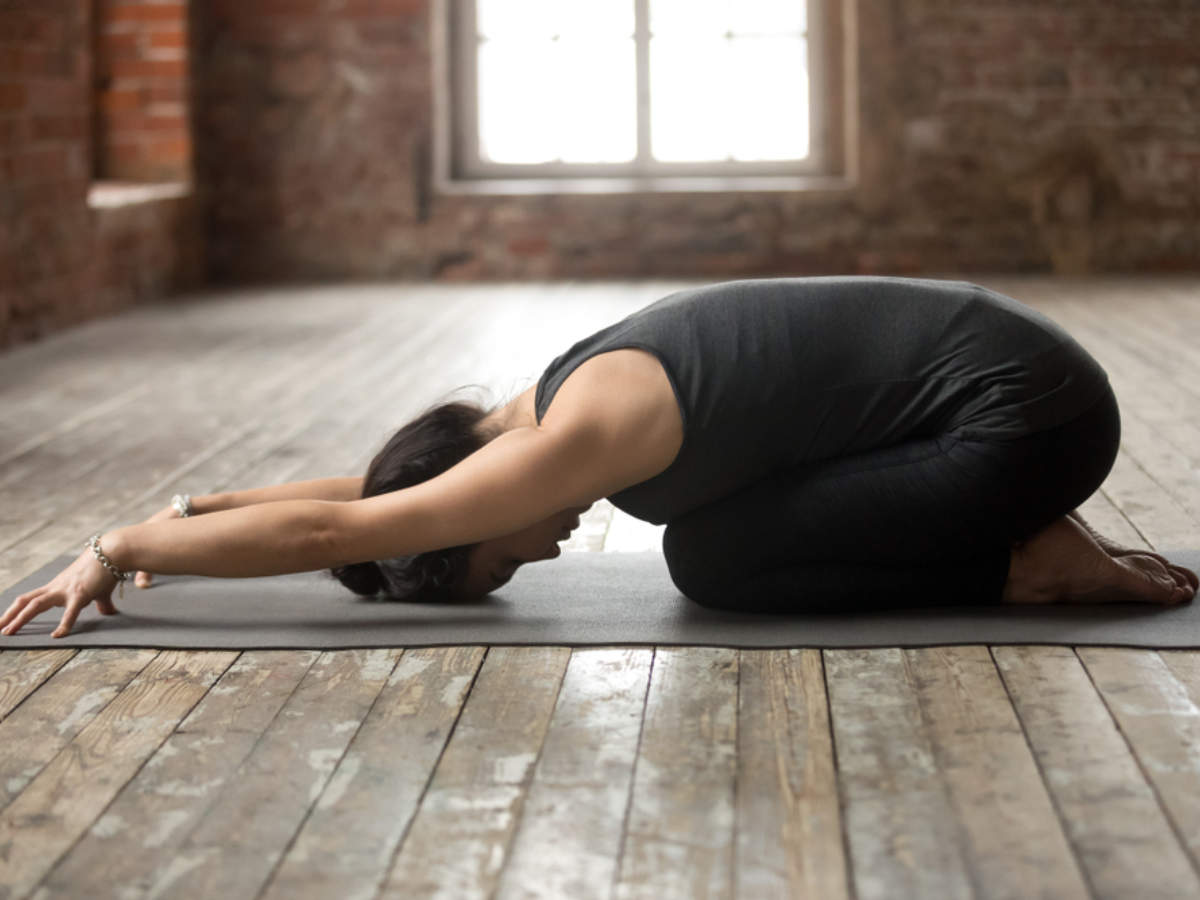
This
pose is comparatively easy to perform and you can do it between other
challenging asanas. Start by sitting on the floor in Vajrasana. Now
lower your head down on the mat by resting your belly on the top of your
thighs. If you are a beginner, your head might not touch the mat, but
that’s okay. Stretch your hands forward, with your palms touching the
front of the mat, right in front of your head. Hold the position for
10-20 seconds and relax.
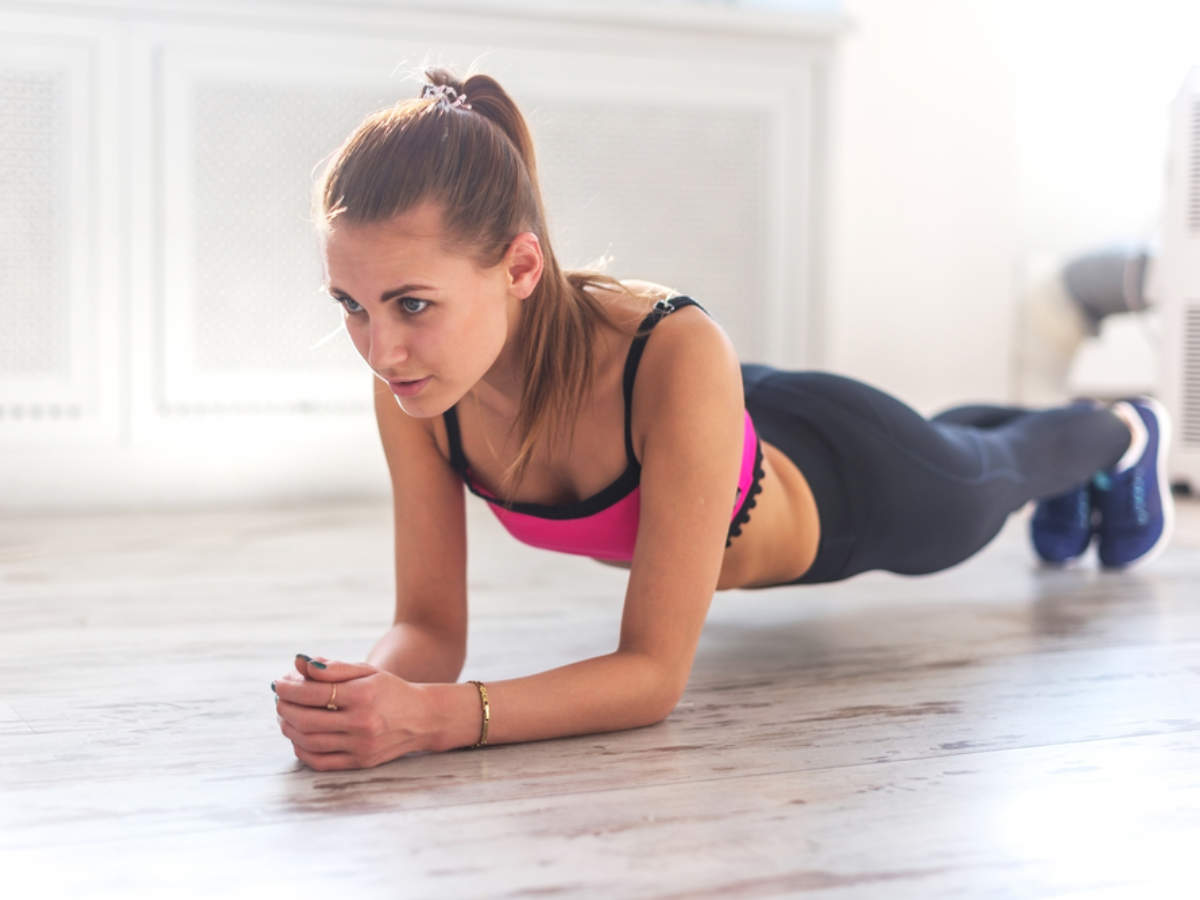
9) Plank pose (Phalakasana)

Lie
flat on your stomach. Now slowly lift your body from the mat by using
the pressure of your hands. Your body should form a straight line from
head to heels. Your wrist should be on the mat and your shoulders should
be right above your wrist. The position will look similar to a push-up
position. Hold the position for a few seconds by keeping your abdominals
engaged and then slowly relax.
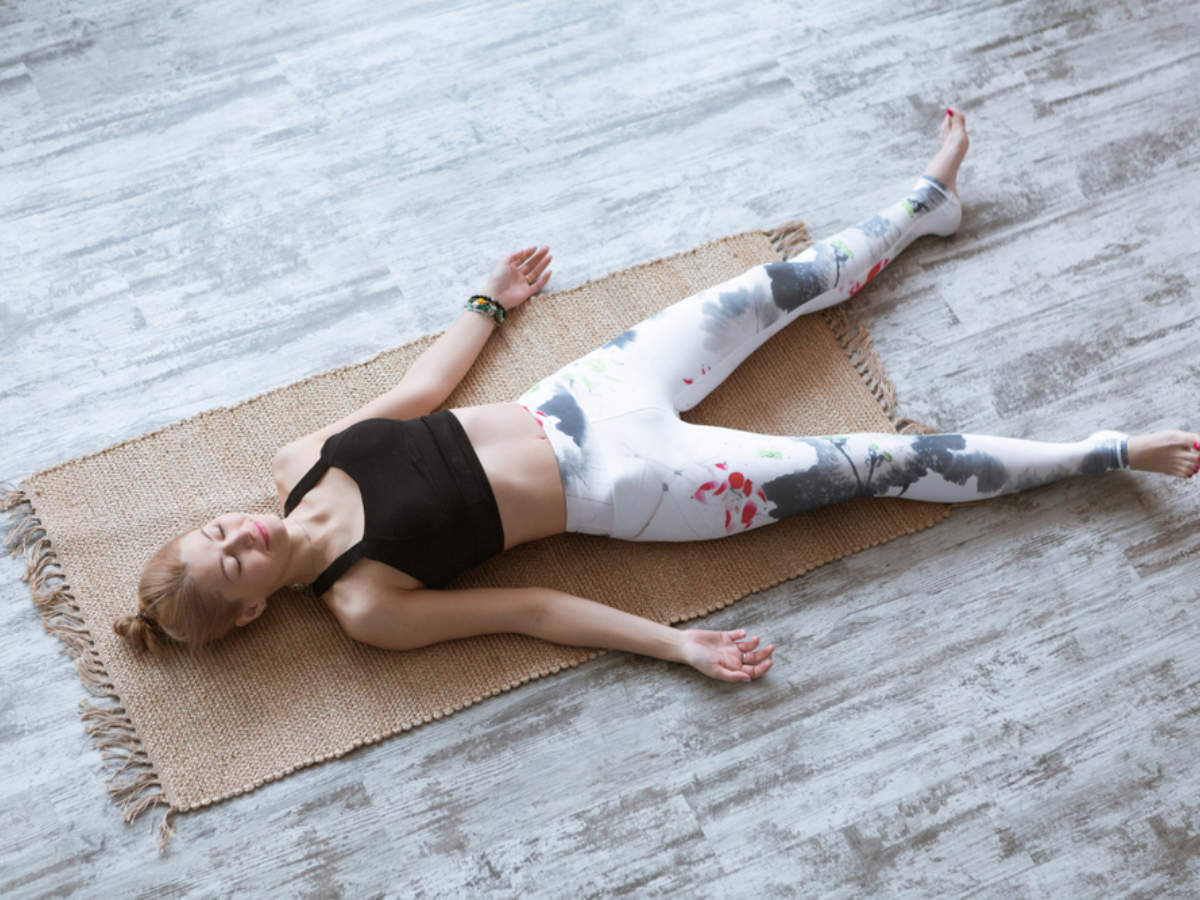
10) Corpse pose (Shavasana)

Lie
flat on your back with your arms on the sides and palms facing down.
Focus on relaxing your body by inhaling through your nose and exhaling
through your mouth. Perform the asana in the end after performing all
the asanas.
THIS IS ONLY FOR INFORMATION, ALWAYS CONSULT YOU PHYSICIAN BEFORE
HAVING ANY PARTICULAR FOOD/ MEDICATION/EXERCISE/OTHER REMEDIES.
PS-
THOSE INTERESTED IN
RECIPES ARE FREE TO VIEW MY BLOG-
https://gseasyrecipes.blogspot.com/
FOR INFO ABOUT KNEE
REPLACEMENT, YOU CAN VIEW MY BLOG-
https:// kneereplacement-stickclub.blogspot.com/
FOR
CROCHET DESIGNS
https://gscrochetdesigns.blogspot.com
Labels: aid weight loss, angle pose, boat pose, bow pose, bridge pose, chair pose, child's pose, corpse pose, plank pose, triangle pose, upwards dog, yoga asanas

0 Comments:
Post a Comment
<< Home